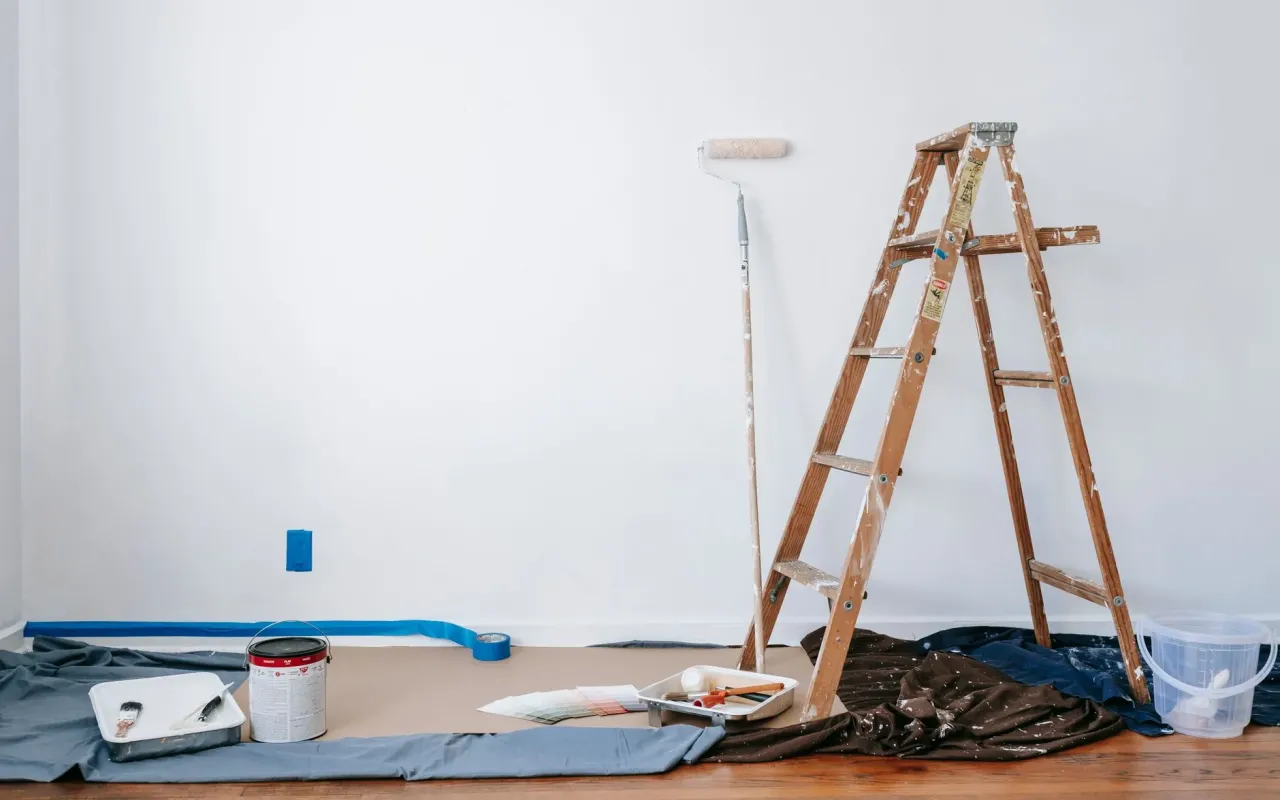
Thinking about sanding and staining your own floors? Here's the honest, no-BS guide to DIY hardwood refinishing, including the mistakes to avoid and the tools that matter.
- August 22, 2026
AceShowbiz - There are two kinds of homeowners: those who have a "project room" and those who have a "project house." I fell into the latter category when we bought our 1972 split-level. The hardwood floors were hidden under a disgusting, shag-carpet time capsule, and when we finally ripped it up, we found oak floors that had seen better decades. They were scratched, water-stained near the back door, and had a finish that looked like shellac from a 1980s infomercial.
I called a professional for a quote. The number he said was not a typo, but it might as well have been a mortgage payment. That's when I decided to do what thousands of other weekend warriors do every year: refinish them myself. I am here to tell you that it is absolutely doable, but it is also the most humbling, physically demanding, and rewarding home improvement project I have ever tackled. Here is the unfiltered truth about how to do it without setting your house on fire (or your marriage).
First, Determine If Your Floors Are Actually Worth Saving
Before you rent a drum sander that looks like it could chew through concrete, you need to assess the wood you're working with. Not every floor is a candidate for a full refinish. The general rule of thumb is that a solid hardwood floor (typically 3/4-inch thick) can be sanded about 5 to 7 times over its lifetime. If you have engineered wood with a thin veneer—usually 1/16 to 1/8 inch thick—you likely cannot sand it at all without hitting the plywood core.
To check, look at the edge of a heating vent or a doorway where the floor meets the transition strip. If you see a distinct top layer of wood glued over a different base, it's engineered. If the grain runs continuously through the depth, it's solid. If you have engineered floors, stop reading and go buy a rug, because you are about to waste $200 on rental fees.
Assuming you have solid wood, you need to check for major structural damage. Are there gaps wider than a quarter? Is the subfloor spongy? If the boards are cupped (curved upward) or crowned (curved downward), sanding won't fix the underlying moisture issue. You have to fix the moisture problem first, or your brand-new finish will peel within six months.
Actionable Takeaway: Do the "coin test." Place a quarter on the floor. If it wobbles significantly, the boards are uneven, but that's fine—sanding will level them. If the floor feels like a trampoline, you have subfloor issues that need addressing before you even think about rental equipment.
The Rental: Why You Shouldn't Buy the Cheapest Option
Here is where most DIY guides fail you. They tell you to "rent a sander," but they don't tell you that there are two distinct types: the belt sander and the orbital sander. The belt sander (often called a drum sander) is the aggressive beast. It spins a continuous belt of grit at high speed and removes wood fast. It is also the tool responsible for 90% of the "I sanded a groove into my floor" horror stories. If you leave it running in one spot for more than two seconds, you will create a divot that you cannot un-dig.
My advice? Spend the extra $30 to rent an orbital floor sander instead. It uses a circular pad that vibrates in a random pattern, meaning it won't leave deep swirl marks and is much more forgiving for beginners. It takes longer, sure, but "longer" is better than "ruined." You will also need an edger (a hand-held orbital sander for the corners) and a detail sander for the tight spots near baseboards.
Do not skip the dust collection. Most rental stores offer a vacuum attachment that connects directly to the sander. Pay the extra fee. If you don't, you will be living in a snow globe of sawdust for a week. I thought I was being frugal by skipping it. By the end of day one, I had dust in my ears, in my coffee, and somehow in my wallet. The dust also clogs the sandpaper immediately, which ruins your grit and slows you down.
Actionable Takeaway: Rent from a dedicated equipment rental store (like Sunbelt or Home Depot) rather than a hardware store. The big box stores often rent out machines that have been abused. Check the pad for uneven wear before you walk out; a warped base plate will ruin your floor no matter how steady your hand is.
The Grit Progression: Patience Is Not Optional
You do not just sand once and call it a day. You will sand the floor a minimum of three times, moving from coarse to fine grit. The goal is to remove the old finish and scratches, then progressively smooth the wood so it feels like glass. Skipping a grit level is like skipping leg day—you might feel fine for a while, but you will pay for it later.
Start with a 36-grit or 40-grit paper to strip the old finish. This is the messy, loud, dusty part. You will move the sander slowly, overlapping each pass by about half the width of the machine. Then, switch to 60-grit to remove the scratches left by the coarse paper. Finally, run an 80-grit to get a smooth surface ready for stain. That is the minimum. If you want a truly professional finish, go up to 100-grit.
Here is the critical nuance: you must vacuum the floor completely between every grit change. Not sweep—vacuum. Then wipe it down with a tack cloth. If you leave a single piece of debris on the floor, the next grit will grind it into the wood and create a permanent dark spot under the stain. I learned this the hard way when I found a small, black speck on my floor that looked like a dead fly. It was a piece of dried gum that had been embedded for years, and I had ground it into the oak like a pigment.
Actionable Takeaway: Walk the floor with a bright work light held at a low angle (raking light). This will show you every swirl mark and scratch you missed. If you see them, go back with the finer grit. The raking light is your best friend and your harshest critic.
Staining: The Waiting Game That Tests Your Soul
Once your floor is as smooth as a baby's bottom, you have a choice: stain or just seal. If you are happy with the natural color of the wood, skip the stain. It saves time and gives a more modern, Scandinavian look. If you stain, choose a water-based stain over oil-based. Water-based stains dry faster, have lower VOCs (which is better for your lungs), and are easier to clean up. The downside is that they can raise the grain of the wood, making it feel slightly rough. To avoid this, after your final sanding, wipe the floor with a damp cloth and let it dry. This raises the grain. Then, do a quick pass with a 120-grit sandpaper to knock it back down. This is called "popping the grain."
Application is simple but tedious. Use a lambswool applicator pad on a pole. Pour the stain in a line, then spread it out evenly. Do not paint yourself into a corner—literally. Start at the farthest wall and work your way backward toward the door. Work in manageable sections (about 10x10 feet) so the stain doesn't dry before you can wipe off the excess. If you let it dry completely, you will get lap marks that look like zebra stripes.
The waiting is the hardest part. Most stains require a 4-6 hour drying time before the polyurethane can go on. Do not walk on it. Do not let your cat walk on it. Do not let your significant other "just peek" at it. If you do, you will leave footprints that will be sealed into the floor for the next decade. I speak from experience when I say that my husband's size 12 sneaker print is now a permanent fixture in our dining room.
Actionable Takeaway: Do a test patch first. Buy a small can of stain, apply it to a scrap piece of wood or a corner that will be hidden by a rug. Let it dry completely. The color in the can is not the color on the floor. Oak absorbs stain differently than pine, and the finish will darken the stain further.
The Polyurethane Finish: Thin Coats, Thick Patience
This is the final boss. You will apply 2-3 coats of polyurethane. Use a water-based polyurethane (like Bona Traffic HD or Varathane) for durability and faster drying times. Oil-based poly gives that classic amber glow, but it takes 24 hours to dry between coats and has a strong odor that will linger for weeks. For a beginner, water-based is the safer bet.
Use a high-quality synthetic brush or a lambswool applicator. Pour the poly in a line and spread it quickly, working in long, continuous strokes. Do not over-brush. You want a smooth, even coat, not a thick one. Thick coats take forever to dry and are prone to bubbling. If you see bubbles forming, they will usually pop on their own, but you can run a brush over them gently to break the surface tension.
Between coats, you must sand lightly with a 220-grit sandpaper. This is called "de-nibbing." It removes the dust particles that settled into the finish while it was drying. Vacuum and tack-cloth the floor again before the next coat. This process is what separates a professional finish from a "good enough" DIY job. The third coat is usually the final one, but if you have high-traffic areas (like a hallway), consider a fourth coat.
Actionable Takeaway: Wear socks with grip on the bottom when you are applying the finish. Bare feet leave oils on the floor, and regular socks are slippery. You will be walking backward across the floor while applying, and the last thing you need is to fall on your butt into a puddle of wet polyurethane.
The 72-Hour Rule and Moving Furniture Back
You are done. The floor looks like a million bucks. You are tempted to move the couch back in immediately. Resist. The polyurethane might be dry to the touch in 4 hours, but it takes 72 hours to cure fully. Walking on it in socks is fine after 24 hours, but heavy furniture needs to wait. The finish is still soft, and anything heavy will leave permanent indentations.
Also, do not put rugs down for at least two weeks. Rugs trap moisture, and if the finish hasn't fully cured, the trapped moisture will cause a white, cloudy film to develop under the rug. You will not see it until you move the rug, and by then, it's a re-sanding job.
When you do move furniture back, use felt pads on every leg. This is non-negotiable. You just spent a week of your life on this floor; protect it. And for the love of all that is holy, trim your dog's nails. I have a 60-pound lab who thinks the hallway is a racetrack, and I am already seeing faint scratches.
Actionable Takeaway: Set a calendar reminder on your phone for 72 hours from the last coat. Write "NO SHOES, NO FURNITURE, NO RUGS" in the event title. You will thank yourself later.
Refinishing your own floors is a rite of passage. It is messy, exhausting, and at times, you will question your sanity. But when the light hits that glossy finish and you realize you did it with your own two hands, there is no better feeling. Plus, you just saved yourself $3,000. That is a pretty good return on a weekend's worth of sweat.