Learn the safe, modern way to jump start a car. Avoid costly mistakes like frying your ECU or battery explosion with this honest guide.
- May 6, 2026
That Moment of Silence When You Turn the Key
You're already running late. You grab your coffee, toss your bag in the passenger seat, and turn the key. Instead of that familiar rumble, you get a single, pathetic *click-click-click*—or worse, absolute silence. Your heart sinks. Your phone is at 12%. And the nearest person who can help is a neighbor you've only waved at twice.
This isn't just a minor inconvenience. A dead battery can cost you an hour of your day, a missed meeting, or a tow truck bill you didn't budget for. But here's the thing most people don't realize: jumping a car incorrectly can fry your car's computer (the ECU), blow a fuse, or even cause the battery to explode. Modern cars aren't like your dad's 1987 pickup. They are sensitive to voltage spikes.
The good news? It's still a simple process—if you do it in the right order. This guide will walk you through the safe, modern method that protects both your car and the car helping you. No guesswork. No crossed wires.
Why the Old "Red to Dead, Black to Metal" Advice Can Be Dangerous
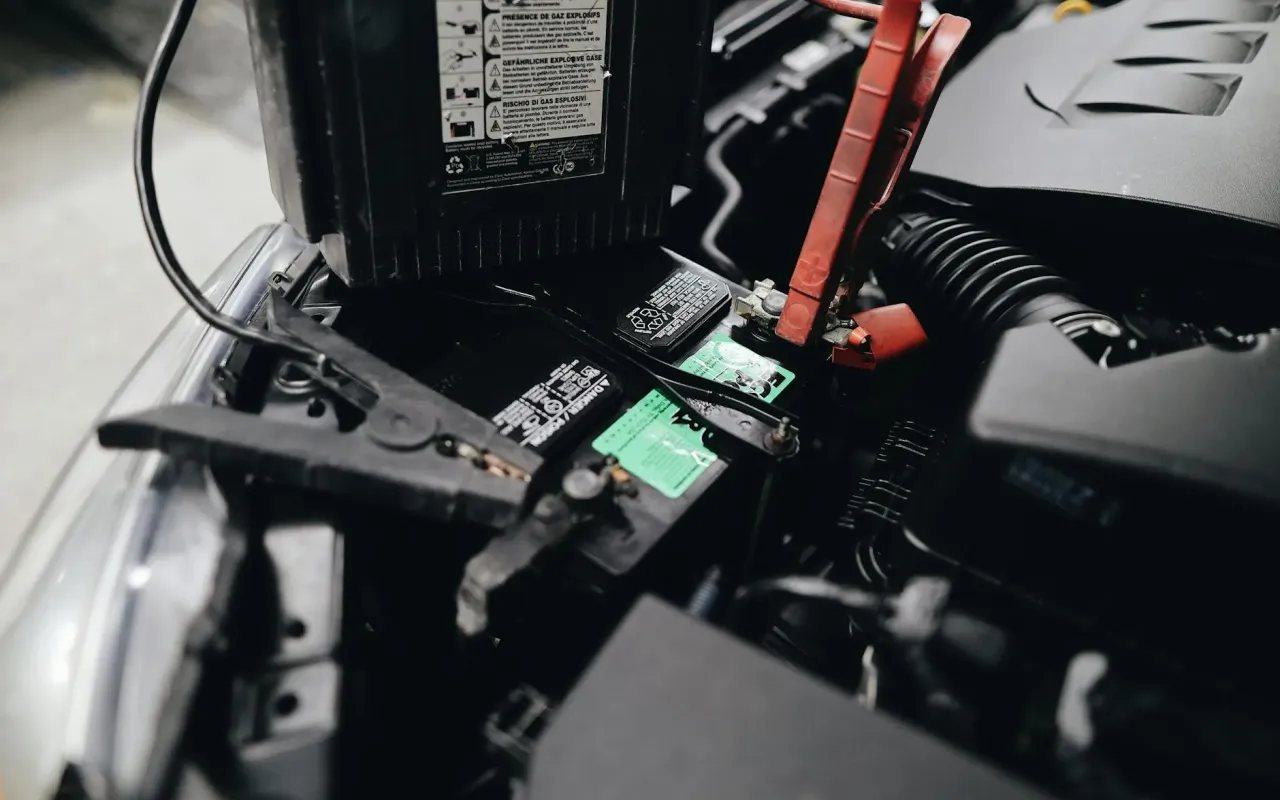
You've probably seen the classic diagram: clamp the red cable to the dead battery's positive terminal, then the other red to the good battery's positive. Then black to the good battery's negative, and finally black to a piece of unpainted metal on the dead car. That last step is where most people go wrong—and where explosions happen.
Batteries emit hydrogen gas, especially if they're old or damaged. When you connect the negative cable directly to the dead battery's negative terminal, that tiny spark from the connection can ignite the gas. The result isn't a small pop—it's a battery casing cracking and spraying acid. I've seen a friend's hood dented from the inside because of this.
The safe rule is simple: never connect the final negative clamp to the dead battery's terminal. Instead, attach it to a solid, unpainted metal engine part—a bolt, a bracket, or the engine block itself. This moves the spark away from the battery. It's not being paranoid. It's being smart. Every major automaker's owner manual recommends this exact method.
Actionable takeaway: Before you even open your hood, locate a clean metal grounding point on your engine. Common spots include alternator brackets, strut tower bolts, or bare metal on the engine block. If you're not sure, the alternator housing is usually a safe bet.
What You Actually Need (And What's a Waste of Money)
Let's be honest: most jumper cable sets you see at gas stations are garbage. Thin-gauge cables that heat up, short clamps that barely grip, and insulation that cracks in cold weather. You don't need the most expensive set, but you do need a set that can handle the job.
Cable Gauge Matters More Than You Think
Jumper cables are rated by gauge—the lower the number, the thicker the wire. For a standard 4-cylinder or V6 engine, 6-gauge cables are the sweet spot. They're thick enough to carry the current without overheating but flexible enough to store easily. Avoid anything 10-gauge or higher; those are for emergency-only use on small motorcycles, not a sedan that won't start in a parking lot.
Length also matters. You need at least 12 feet. Why? Because you might not be able to park nose-to-nose. A 16-foot set gives you flexibility to park side-by-side or even bumper-to-bumper if the other car has to pull up on a curb. I've had to snake cables under a minivan because the only helper was parked two spots over. Short cables will leave you stranded.
The Battery Jump Pack Alternative
If you want to be completely independent, a lithium-ion jump starter (about the size of a thick smartphone) is a game-changer. No second car needed. You just connect the clamps to your dead battery, press a button, and start your car. Models like the NOCO Boost Plus or Audew 2000A can start a V8 engine multiple times on a single charge.
Actionable takeaway: Keep a jump pack in your trunk, but still carry cables. A jump pack's battery can die if you forget to charge it. Cables don't need charging—they just need a Good Samaritan. Also, check your cables' clamps: cheap ones with plastic-coated handles can crack in winter. Look for fully insulated, heavy-duty clamps.
The Safe Sequence: Exactly How to Connect the Cables
This is the part where most people rush. They hook up cables in random order, hoping for the best. But the sequence matters because it minimizes the risk of sparks near the battery and protects your car's sensitive electronics.
Step 1: Park and Prepare
Park the working car close enough that the cables reach, but make sure the two cars don't touch. Turn off both ignitions, remove the keys, and set the parking brakes. Pop both hoods. If it's dark, turn off the headlights and interior lights to avoid draining the working battery.
Step 2: Connect the Positive Cables First
Take the red (positive) clamp and attach it to the dead battery's positive terminal. It's usually marked with a "+" sign and a red plastic cap. Clamp it firmly—you want good metal-to-metal contact. Then, attach the other red clamp to the working battery's positive terminal.
Why positive first? Because if you accidentally touch the red clamp to the car's body while connecting, it won't short out. The negative side isn't connected yet, so there's no complete circuit. This is a small but critical safety buffer.
Step 3: Connect the Negative to the Good Battery
Take the black (negative) clamp and attach it to the working battery's negative terminal (marked with a "-"). Now, here's the crucial part: do not attach the final black clamp to the dead battery's negative terminal. Instead, clamp it to that bare metal engine part you identified earlier.
Actionable takeaway: If you can't find a good grounding point, look for a bolt on the alternator bracket or a strut tower bolt. Avoid painted surfaces, fuel lines, and moving parts like belts or fans. Also, never clamp to the engine's intake manifold—it's often aluminum and can crack under the clamp's pressure.
Starting the Dead Car (Without Killing the Good One)
Once the cables are connected, it's time to bring the dead battery back to life. But don't just crank the dead car immediately. You need to let the good car's alternator do some work first.
The Charging Window
Start the working car's engine and let it idle for 3-5 minutes. This allows the alternator to send a steady charge through the cables to the dead battery. Don't rev the engine—modern alternators produce full output at idle. Revving can actually create voltage spikes that damage electronics.
After 5 minutes, try starting the dead car. If it cranks slowly or clicks, wait another 2-3 minutes. If it still won't start after 10 total minutes of charging, the battery may be too far gone (sulfated or internally shorted). In that case, you'll need a replacement battery, not a jump.
What to Do If the Car Starts Roughly
Once the dead car starts, let it run at idle for at least 15-20 minutes. Do not shut it off immediately. The alternator needs time to recharge the battery. Drive it for 30 minutes if possible—idling alone may not fully replenish the charge, especially in cold weather.
Actionable takeaway: After a jump start, turn off all accessories (radio, lights, AC) for the first 10 minutes of driving. This reduces the load on the alternator, allowing it to focus on charging the battery. If your car has start-stop technology, disable it for the first few drives to prevent the engine from cutting out at a stoplight.
How to Disconnect Without Sparking or Shorting Anything
Removing the cables is where people get lazy. They yank them off in the wrong order, creating sparks that can damage the alternator or blow a fuse. The rule is simple: remove in the exact reverse order you connected them.
The Reverse Sequence
First, remove the black clamp from the grounding point on the dead car. Then, remove the black clamp from the working battery's negative terminal. Next, remove the red clamp from the working battery's positive terminal. Finally, remove the red clamp from the dead battery's positive terminal.
Why this order? Because the last connection you made (the grounding point) is the first one you remove. This ensures that if the clamps accidentally touch each other or the car's body, there's no closed circuit that could cause a spark or short.
What to Do If the Clamps Touch While Disconnecting
If the red and black clamps touch while still connected to a battery, you'll get a shower of sparks. Don't panic—just separate them quickly. Check the clamps for burn marks. If the insulation is melted, replace the cables before using them again. A damaged cable can short out and cause a fire.
Actionable takeaway: After disconnecting, wipe the battery terminals with a clean rag. Corrosion (that white or blue powdery stuff) can prevent a good connection next time. A cheap terminal brush from an auto parts store is worth keeping in your trunk.
When Jumping Won't Work (And What to Do Instead)
Sometimes, you do everything right and the car still won't start. Don't assume you're doing it wrong. There are three common scenarios where a jump start simply won't fix the problem.
Scenario 1: The Battery Is Completely Dead
If the battery voltage has dropped below 10 volts (a "deep discharge"), a jump start may not provide enough initial current to wake it up. In this case, you need a battery charger that can "desulfate" the battery—a process that applies a controlled voltage to restore the chemical reaction. Most jump packs can handle this, but cheap cables alone won't.
Scenario 2: The Alternator Is Dead
If the car starts but dies immediately after removing the cables, your alternator isn't charging the battery. You can drive for a short distance on battery power alone, but you'll be stranded again soon. This requires a mechanic, not another jump.
Scenario 3: The Starter or Ignition Is Faulty
If you get a single loud click or no sound at all, even with good battery voltage, the issue is likely the starter motor, solenoid, or ignition switch. Jumping won't fix this. You'll need a tow or a mobile mechanic.
Actionable takeaway: Keep a simple multimeter in your glovebox. It costs $10 and can tell you if your battery is at 12.6 volts (healthy), 12.0 volts (weak), or below 11.5 volts (bad). This saves you from jumping a battery that's already beyond saving.