Learn the simple, non-negotiable process of aquarium cycling. This guide shows you how to build a safe, stable home for your fish before they ever arrive.
- April 13, 2026
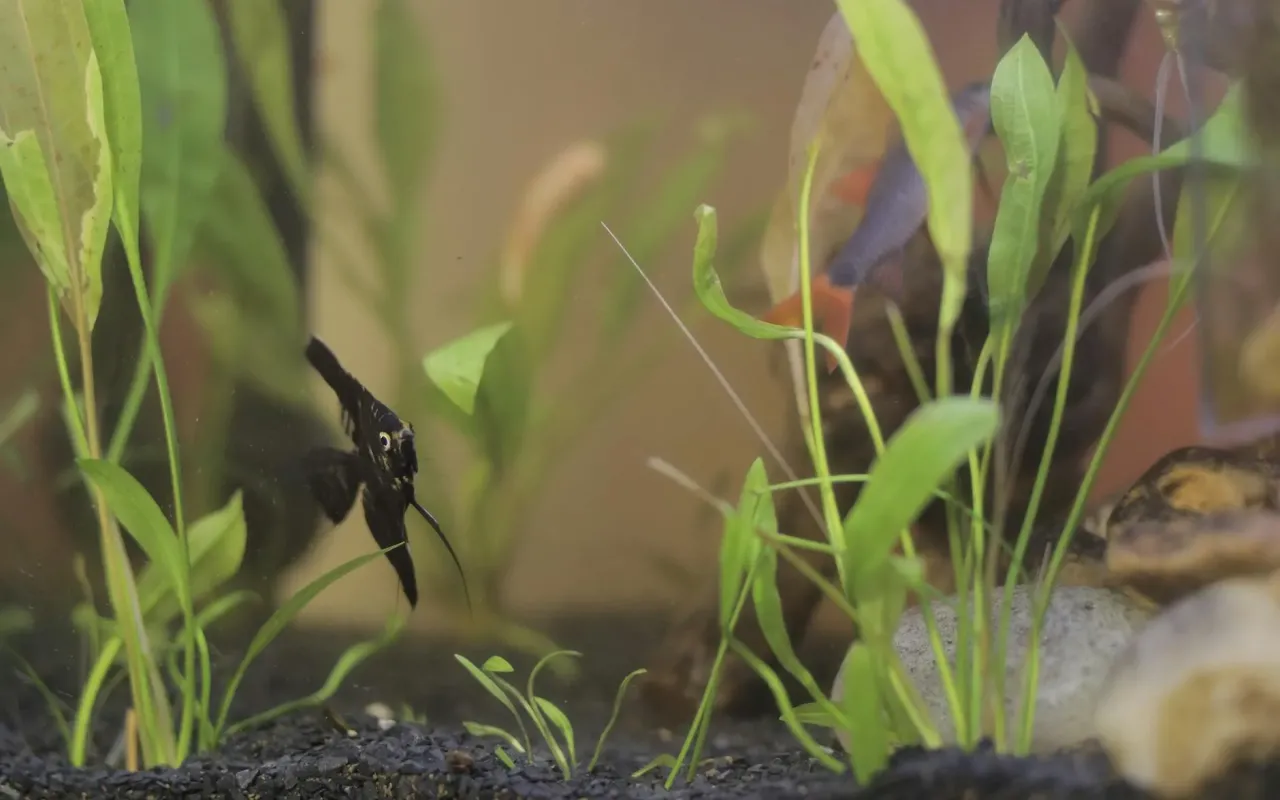
AceShowbiz - You've got the perfect spot picked out, the tank is sparkling clean, and you're already dreaming of the colorful fish you'll bring home. It's an exciting moment. But here's the surprising truth that most pet stores won't tell you: putting fish into that pristine water on day one is one of the most common—and heartbreaking—mistakes a new aquarist can make. The water might look clear, but it's biologically empty and potentially toxic. The real magic of a healthy aquarium happens invisibly, and it requires a little patience upfront.
Think of it like moving into a new house. You wouldn't just turn on the electricity and start living there; you'd need the plumbing, water filtration, and waste systems all connected and functioning. For your fish, their entire world is the water in that tank. Cycling is the process of building the biological filtration—the living, breathing waste management system—that makes that water safe for them to live in. It's not the most glamorous part of fishkeeping, but it's the absolute foundation. Skip it, and you're setting yourself and your fish up for a stressful, uphill battle.
This guide is your roadmap. We'll walk through why this process is non-negotiable, the science behind it in plain English, and the practical steps you can take to establish a thriving ecosystem. By the end, you'll understand exactly how to create a stable, safe home for your future fish, ensuring their best chance at a long, healthy life.
Why You Can't Just Add Water and Fish
Imagine living in a sealed room where your own waste never gets taken out. It sounds grim, and for fish, that's the reality of an uncycled tank. Fish produce ammonia through their gills and waste. In high enough concentrations, ammonia burns their gills and skin, damages their organs, and is fatal. It's the number one killer of fish in new tanks, often manifesting as a mysterious illness a week or two after bringing them home, a phenomenon sadly known as "New Tank Syndrome."
In a natural body of water like a lake or river, ammonia is diluted to harmless levels. In your small, closed aquarium, it concentrates rapidly. Without a biological filter, you're left trying to remove it all yourself with constant, stressful water changes. The goal of cycling is to cultivate an army of beneficial bacteria that will do this cleanup work for you, automatically and around the clock.
These bacteria don't live in the water column; they colonize surfaces. The porous media in your filter, the substrate (gravel or sand), and even decorations become their apartment complex. A cycled tank isn't about having "clean" water in the sterile sense. It's about having stable water, where toxic compounds are instantly converted into safer substances by these microscopic tenants.
Actionable Tip: Before you even buy your tank, decide on your fishless cycling method (we'll cover this next). Having your ammonia source ready on day one of setup gets the process started immediately.
The Invisible Science: Meet Your Bacterial Cleanup Crew
Aquarium cycling is a two-stage bacterial colonization project. You're not growing just one type of bacteria, but two, working in a sequential chain. Understanding this chain demystifies the entire process and helps you interpret your water test results.
The first group of bacteria, primarily of the Nitrosomonas species, are your ammonia oxidizers. They consume the toxic ammonia (NH3) and convert it into nitrite (NO2-). This is progress, but not the finish line. Nitrite is also highly toxic to fish; it binds to their blood cells, preventing oxygen transport, essentially causing them to suffocate even in oxygen-rich water.
This is where the second bacterial team enters. Bacteria like Nitrobacter are nitrite oxidizers. They consume the nitrite and convert it into nitrate (NO3-). Nitrate is the final product in this cycle, and it is far less toxic. In a stocked, cycled tank, you manage nitrate through regular partial water changes, typically keeping it below 20-40 ppm (parts per million). This entire chain is known as the Nitrogen Cycle, and it's the engine of your aquarium.
Actionable Tip: Don't clean your filter media with tap water. The chlorine in tap water will kill your beneficial bacteria. Instead, rinse sponges or media in a bucket of water you've removed from the tank during a water change.
Fish-In vs. Fishless Cycling: Choosing Your Path
There are two main methods to establish this bacterial colony: fish-in and fishless cycling. For beginners, the choice is clear. Fishless cycling is the humane, controlled, and highly recommended method. It involves adding a pure ammonia source to an empty tank to feed the bacteria, with no fish at risk.
Fish-in cycling, where you use hardy fish to produce the ammonia, is an outdated and stressful practice. It subjects living animals to prolonged periods of toxic ammonia and nitrite as the bacteria slowly establish. Even with frequent testing and daily water changes, it's a risky ordeal for the fish, often leading to illness or death. It's like asking someone to live in a house while the sewage system is being installed.
By choosing fishless cycling, you take full control. You can dose ammonia to the exact level needed, speed up the process with bottled bacteria supplements, and never have to worry about causing harm. When the cycle is complete, you can fully stock your tank (within reason) all at once, rather than adding fish slowly over weeks.
Your Step-by-Step Fishless Cycling Plan
Now, let's get practical. Here is your actionable plan to cycle your first tank. You'll need your fully set-up aquarium (with filter and heater running), a liquid-based water test kit (strips are often inaccurate for this), and a pure ammonia source. Dr. Tim's Aquatics Ammonium Chloride is a popular and safe product, or you can find clear, unscented household ammonia with no surfactants (shake the bottle—if it foams, don't use it).
Week 1-2: The Ammonia Phase. Dose your tank with ammonia to reach a concentration of 2-4 ppm. Test daily. For the first week or so, you'll see high ammonia and zero nitrite. This is normal—you're waiting for the first bacteria to appear. Your tank is essentially "bacterial fallow land." Keep the temperature around 82-87°F (28-30°C), as warmer water speeds up bacterial growth.
Week 2-4: The Nitrite Spike. One day, you'll test and see your ammonia level start to drop, and you'll get your first reading for nitrite. Congratulations! Your first bacterial team has arrived. Continue dosing ammonia back up to 2 ppm whenever it drops below. The nitrite level will now climb dramatically, often to a scary-looking deep purple on the test chart. This is the most tedious phase—you are now waiting for the second, slower-growing bacteria to establish.
The Finish Line: Nitrate Arrives and Double-Zero. After what feels like forever, you'll test and see the nitrite level suddenly plummet to zero. You'll also get a reading for nitrate. The final test is to dose ammonia up to 2 ppm one last time. Test again in 24 hours. If your tank is fully cycled, it will convert that 2 ppm of ammonia all the way to nitrate in a single day, reading 0 ppm Ammonia and 0 ppm Nitrite. Your tank is now ready for fish!
Actionable Tip: Log your test results daily in a notebook or app. Seeing the data trend over time—ammonia falling, nitrite rising and then falling—makes the invisible process visible and keeps you motivated.
Tools You Need: Beyond the Test Kit
While the liquid test kit and ammonia are the stars, a few supporting tools make the process smoother. First, a reliable heater is crucial. Beneficial bacteria reproduce much faster in warmer water. Cranking your heater to the low 80s (°F) can shave days or even a week off your cycle time. Just remember to turn it back down to your desired tank temperature before adding fish.
Consider using a bottled bacteria starter. Products like Tetra SafeStart, API Quick Start, or Dr. Tim's One & Only contain live nitrifying bacteria. They are not an instant cycle in a bottle, despite marketing claims, but they can significantly shorten the initial lag phase by seeding your tank with the necessary bacteria from day one. Think of it as inoculating your tank rather than waiting for spores to arrive on the wind.
Patience is the most important tool, but a water conditioner is the most critical chemical. You must use a conditioner like Seachem Prime that neutralizes chlorine and chloramine in your tap water. Chlorine is added to municipal water to kill bacteria—precisely the bacteria you're trying to grow. Every time you add tap water, you must condition it first.
Actionable Tip: If your cycle seems "stuck" during the nitrite phase, a small water change (20-25%) can help. Extremely high nitrite can sometimes inhibit the very bacteria trying to consume it. The water change dilutes it without resetting your progress.
What to Do When Your Tank is Finally Cycled
You've passed the test! Your tank processes 2 ppm of ammonia to nitrate in 24 hours. Now, you need to prepare for the fish. First, perform a large water change, around 50-70%, to bring the nitrate level down below 10 ppm. High nitrate isn't an immediate emergency like ammonia, but starting fresh is best for your new arrivals.
When you add your fish, do not overstock immediately. While your filter can handle the ammonia from the fish you've planned for, it's a living culture that needs to grow with the bioload. A good rule is to start with about half your planned stock, wait a week, test to ensure ammonia and nitrite remain at zero, then add the rest. This gives the bacterial colony time to adjust to the increased waste production.
Continue testing your water every other day for the first two weeks with fish. This is your safety check to ensure your cycle is handling the new load. You should consistently see 0 ppm Ammonia, 0 ppm Nitrite, and a slowly rising Nitrate. Once you confirm stability, you can shift to a weekly testing routine just before your scheduled water change.
Actionable Tip: When you bring fish home, acclimate them to your water temperature first (float the bag), then slowly mix small amounts of your tank water into their bag over 30-60 minutes. This gradual introduction minimizes stress from differences in water chemistry, not just temperature.
Common Cycling Mistakes and How to Avoid Them
Even with the best intentions, it's easy to stumble. One major mistake is over-cleaning a new filter. If your filter flow seems slow, just rinse the media in old tank water. Scrubbing it under the tap will crash your cycle by destroying the bacterial colony, sending you back to square one.
Another pitfall is misreading "cycled" signals. Seeing nitrate is a good sign, but it doesn't mean the cycle is complete. The only true indicator is your tank's ability to process 2 ppm of ammonia to 0 ammonia and 0 nitrite within 24 hours. Don't rush out for fish just because you see a hint of nitrate.
Finally, avoid the temptation to change large amounts of filter media. Filter cartridges are often marketed to be replaced monthly, but this is a profit-driven tactic, not a biological one. If you must replace a sponge or cartridge, do it gradually, or place the new media alongside the old for a month so bacteria can colonize it first. Your goal is to preserve the established biofilm at all costs.
Cycling is a rite of passage for every aquarist. It requires patience, but it rewards you with a profound understanding of your aquarium's ecosystem. By investing this time upfront, you're not just waiting—you're actively building a resilient, living world. The reward is clear, healthy water and the peace of mind that comes from knowing your fish have a truly safe home.