Stop sending food waste to the landfill. Our practical guide shows you how to start composting at home, even in a small apartment, and transform your trash into nutrient-rich soil.
- April 10, 2026
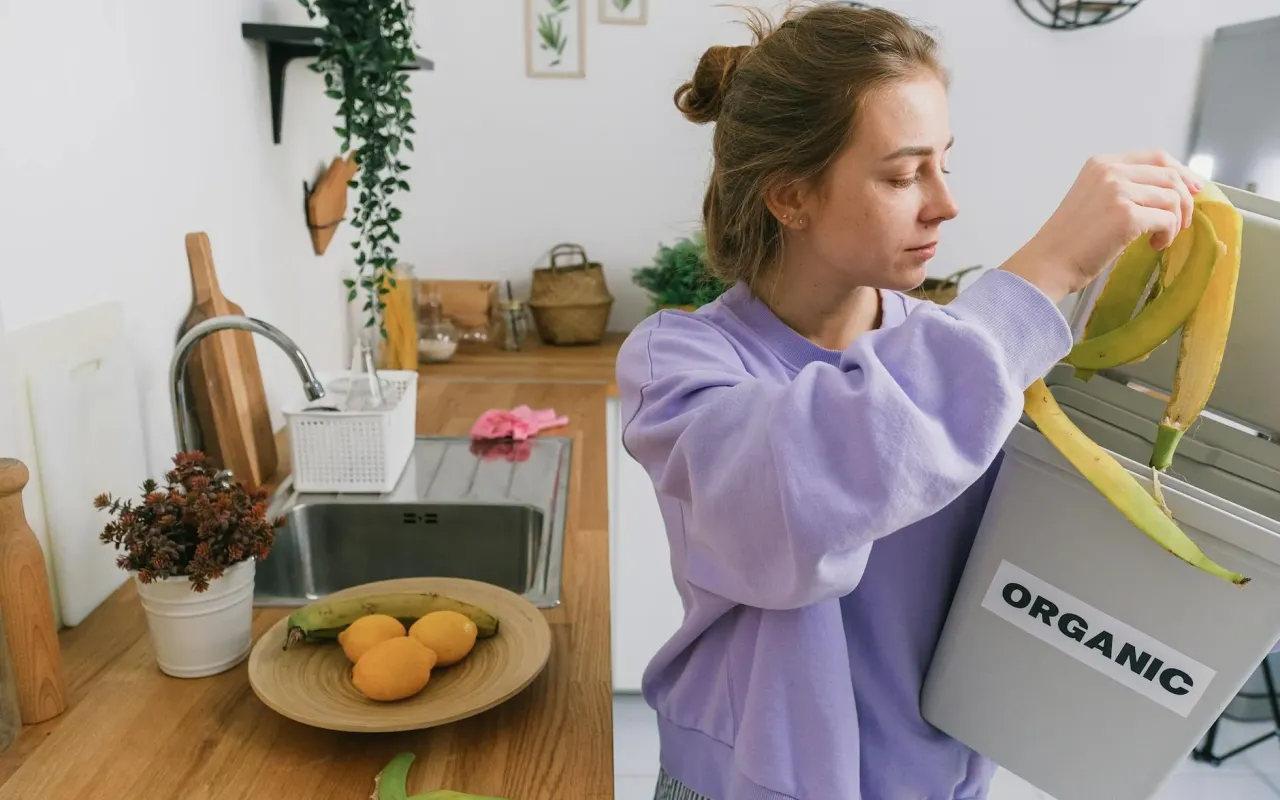
Your Trash Can is Lying to You
That banana peel, those coffee grounds, the wilted lettuce at the back of the fridge—they're not garbage. They're ingredients. In the U.S., food scraps and yard waste make up more than 30% of what we throw away, and when that organic matter gets trapped in a plastic bag in a landfill, it decomposes without oxygen, releasing methane, a potent greenhouse gas. But in your hands, those same scraps can become a powerful, living resource: black gold for your plants, a free soil amendment, and a quiet act of environmental repair. You're not just managing waste; you're closing a loop right in your own home.
The beauty of composting is that it's not a perfect science reserved for farmers with acres of land. It's a flexible, forgiving process that can adapt to a suburban backyard, a sunny balcony, or even a kitchen cupboard. The barrier for most people isn't complexity; it's knowing where and how to start without getting overwhelmed by conflicting advice. Forget the intimidating piles of perfect ratios. Let's talk about the simple, practical system that works for your real life.
Demystifying the Decomposition Squad
At its heart, composting is just managed decomposition. You're creating a cozy, efficient environment for nature's clean-up crew to do their work. Understanding who these workers are helps you manage the pile intuitively. The real rockstars are microorganisms—billions of bacteria and fungi that are the first to break down soft, green materials. They generate heat as they eat, which is why a healthy compost pile feels warm in the middle.
Then come the larger decomposers you can actually see: red wiggler worms (in certain systems), sow bugs, mites, and beetles. These critters further break down material and help aerate the pile. Your job as compost manager isn't to do the work for them, but to keep them happy by providing a balanced diet and good living conditions. Think of it as hosting a very slow, very productive dinner party for tiny creatures.
The key to their happiness lies in balancing two broad categories of ingredients, often called "greens" and "browns." This isn't about color, but about nitrogen and carbon. Greens are your nitrogen-rich, often moist materials like fruit and vegetable scraps, coffee grounds, fresh grass clippings, and plant trimmings. They provide the protein for the microbes. Browns are carbon-rich, dry, and bulky: fallen leaves, shredded cardboard (non-glossy), straw, wood chips, and dried plant stalks. They provide the carbohydrates and create necessary air pockets.
Practical Tip: A simple rule of thumb to avoid overthinking is to aim for a rough visual ratio of 2 parts browns to 1 part greens by volume. Every time you add a kitchen catcher full of food scraps (greens), bury it under or mix in twice that amount of shredded paper or dry leaves (browns). This balance prevents odors and speeds up the process.
What Definitely Doesn't Belong in Your Bin
While composting is forgiving, a few items will cause problems. Avoid meat, bones, dairy, and oily foods in a basic backyard system, as they can attract pests and create odors. Don't add pet waste from dogs or cats, as it can contain pathogens. Also, steer clear of diseased plants, weeds that have gone to seed (unless your pile gets very hot), and glossy or heavily inked paper. When in doubt, leave it out—it's better to compost a little less than to ruin a whole batch.
Choosing Your Composting Vessel: From Bin to Bokashi
The right system makes all the difference between a satisfying habit and a forgotten, smelly project. Your choice depends entirely on your space, time, and volume of waste.
For a house with a yard, a simple enclosed bin or tumbler is a fantastic start. Bins are affordable and hold heat and moisture well. Tumblers, which you spin on a frame, make turning your compost incredibly easy and can speed up decomposition. If you have the space and generate a lot of yard waste, a three-bay wooden system is the gold standard, allowing you to have piles in different stages: one for fresh additions, one actively cooking, and one finishing.
For apartment dwellers or those with just a patio, don't think you're out of the game. Vermicomposting, using a bin of special red wiggler worms, is a clean, odorless method perfect for kitchens. The worms process your scraps quickly, producing fantastic liquid fertilizer (worm tea) and castings. Alternatively, a compact electric composter (like a Lomi or FoodCycler) dehydrates and grinds scraps into a soil amendment in hours—it's not true composting, but it drastically reduces volume and creates a usable product with minimal effort.
Practical Tip: Start simple and small. For most beginners in a house, a single 80-gallon enclosed bin or a tumbler is more than enough. Place it in a convenient spot with partial sun—if it's a hassle to get to, you won't use it. For apartments, a sleek, layered worm bin under the sink or on a balcony is a manageable and fascinating entry point.
The Art of Maintenance: Turning, Moisture, and Patience
You've got your bin and you're adding scraps. Now what? A neglected pile might eventually decompose, but a tended pile becomes rich compost in months, not years. The three maintenance keys are aeration, moisture, and time.
Aeration is giving your microbial workforce oxygen. Without it, the pile goes anaerobic (without air), leading to a sour, rotten smell. You introduce air by turning the pile with a pitchfork or compost aerator every week or two. This mixes the materials, brings outer edges to the hot center, and prevents matting. If turning is physically difficult, simply poking deep holes throughout the pile with a broom handle can help.
Moisture is critical. Your pile should feel like a wrung-out sponge—damp but not dripping. In dry weather, you may need to add water when you turn it. In very wet climates or seasons, a lid or tarp will prevent it from becoming a sodden, oxygen-starved mass. The browns (like dry leaves) help absorb excess moisture, which is another reason that 2:1 ratio is so helpful.
Finally, embrace patience. The process can take anywhere from three months to a year. You'll know it's finished when the original materials are unrecognizable, the pile has cooled to air temperature, and you're left with a dark, crumbly, earthy-smelling substance. It won't look like store-bought potting soil; it will be better—full of life and structure.
Practical Tip: Keep a small bucket with a lid and a supply of browns (shredded newspaper, torn-up egg cartons) right next to your compost bin. When you add food scraps, immediately cover them with a handful of browns. This single habit controls odors, deters flies, and maintains balance without a weekly chore.
Troubleshooting Your Compost Pile
Even the best-managed pile can have a hiccup. Here's how to diagnose and fix common issues quickly, so you don't get discouraged.
Problem: The pile smells rotten or like ammonia. This is almost always a sign of too many greens and not enough air. It's anaerobic. Fix: Turn the pile immediately to introduce oxygen, and mix in a generous amount of dry browns like straw or shredded cardboard. This will soak up excess moisture and restore balance.
Problem: The pile isn't heating up. A cold pile means microbial activity is slow. This is usually due to a lack of nitrogen (greens), insufficient moisture, or the pile being too small. Fix: Add a batch of fresh green material like grass clippings or vegetable scraps, ensure the moisture is right, and if your pile is smaller than 3'x3'x3', try to bulk it up or consider a smaller bin.
Problem: You have pests like flies or rodents. This typically means food scraps are exposed on the surface. Meat or oily foods can be a major attractant. Fix: Always bury new food waste under 6-8 inches of browns or finished compost. Ensure your bin has a secure lid or a wire mesh bottom to prevent digging. A well-balanced, properly covered pile is not an attractive target for pests.
Problem: The decomposition is very slow. The pieces might be too large, the pile might be too dry, or it may need more nitrogen. Fix: Chop up large items like melon rinds or corn cobs before adding them. Give the pile a good watering while turning it, and add a nitrogen source like fresh grass clippings or a handful of organic fertilizer to kickstart the microbes.
Harvesting and Using Your Black Gold
The moment of truth is incredibly satisfying. When your compost is dark, crumbly, and smells like fresh forest earth, it's ready to use. To harvest from a single bin, stop adding new materials to one side for a few months, or simply scoop out the finished compost from the bottom of the pile with a shovel, where it tends to finish first.
This isn't just dirt. It's a soil amendment teeming with beneficial microbes and nutrients. You don't use it to replace potting soil, but to enrich it. Mix it into your garden beds before planting to improve soil structure, water retention, and fertility. Use it as a top dressing around established plants, trees, and shrubs; the nutrients will slowly work their way into the soil with each watering.
For containers, blend it with potting mix (about 1 part compost to 3 parts potting soil) to give your potted plants a sustained nutrient boost. You can also make a nutrient-rich compost tea by steeping a shovel-full of finished compost in a bucket of water for 24-48 hours, then straining and using the liquid to water plants.
Seeing your food scraps come full circle to feed your tomatoes or your houseplants is the ultimate reward. It transforms a chore into a cycle, and waste into a resource. You're not just reducing what goes to the curb; you're actively creating something of value from what was once considered worthless.
Making it a Seamless Habit
The final step to successful composting isn't about the pile; it's about integrating it into your daily rhythm so it feels effortless. Keep a small, lidded container on your kitchen counter—a ceramic crock, a repurposed coffee tin, or a stainless-steel bin with a filter. Empty it every two or three days to prevent fruit flies. This small, visible reminder makes the act of saving scraps as routine as taking out the recycling.
Get your household on board by explaining the "why" in simple terms: we're making free plant food and keeping waste out of the landfill. Make it easy for everyone by having the browns and the outdoor bin accessible. Your compost system is a living reflection of your home's ecosystem. It doesn't demand perfection, just consistent, mindful participation.
Start this weekend. Get a bin, find a spot, and save your next coffee grounds and banana peel. That single action is the first step in a quiet, powerful revolution happening right in your own backyard—or under your kitchen sink.