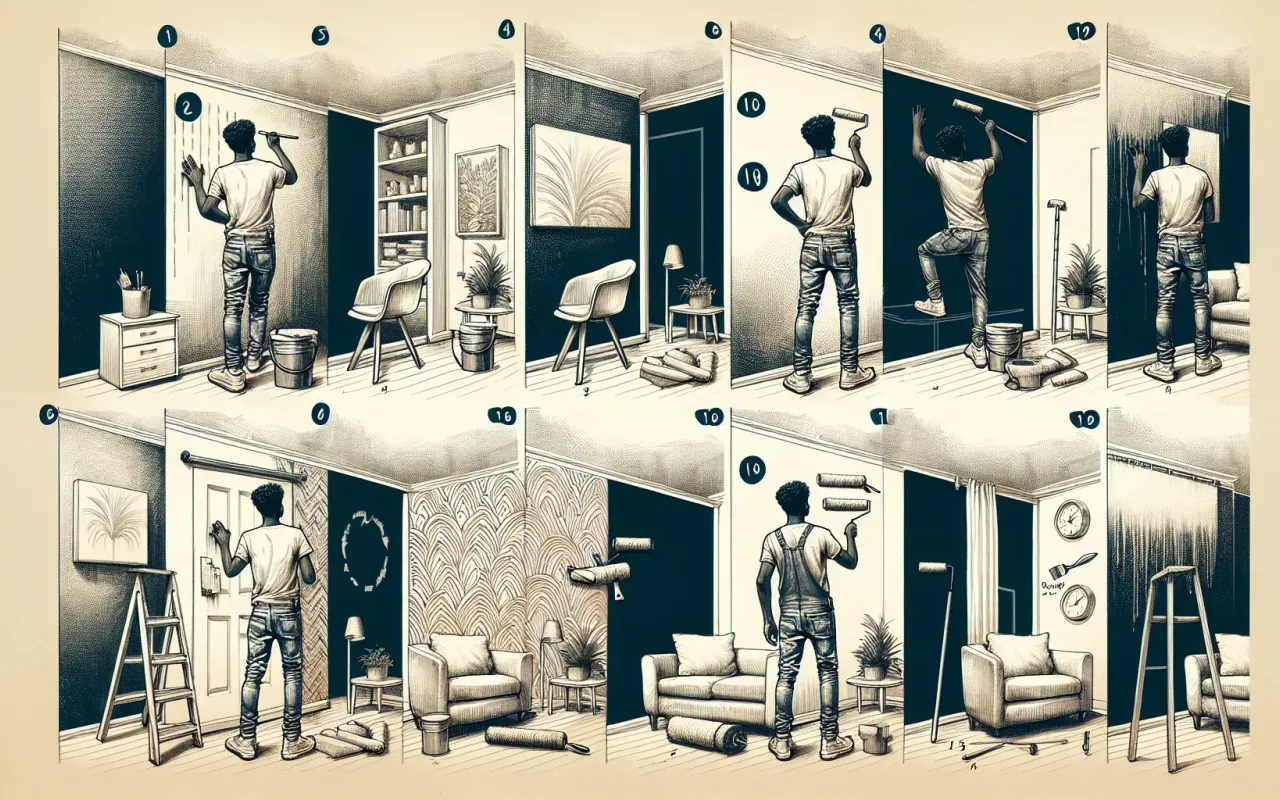
Discover expert wall painting tips and techniques to transform any room. Learn how to prepare, execute, and finish your painting project for professional results.
- September 10, 2024
Painting your walls can completely transform the look and feel of your space. Whether you're looking to refresh an existing room or embark on a major renovation, knowing the right wall painting tips and techniques is crucial for achieving professional results. In this article, we’ll provide you with ten expert tips to help you enhance your wall painting process, from preparation to finishing touches.
1. Choose the Right Paint
Selecting the right type of paint is the first step towards a successful painting project. Consider the room's function and the desired finish. For high-traffic areas, opt for durable, washable paints like satin or semi-gloss. Matte or eggshell finishes are ideal for spaces where subtle sheen is preferred, and they help mask wall imperfections.
2. Prepare Your Walls
Clean the Wall Surface
Before you start painting, it's essential to clean your walls. Dust, dirt, and grease can prevent paint from adhering properly. Use a mixture of water and mild detergent to clean the surfaces, then rinse with water and let them dry completely.
Repair Imperfections
Inspect your walls for any cracks, holes, or dents. Use spackle or filler to repair these imperfections, and sand them smooth once they are dry. This will create a flawless surface for painting and ensure a polished finish.
3. Invest in Quality Tools
High-quality brushes, rollers, and painter's tape can make a significant difference in the outcome of your painting project. Cheap tools may result in uneven paint application and visible brush strokes. Invest in quality tools to achieve a professional finish.
4. Use Primer for Best Results
Priming your walls is a crucial step, especially if you are painting over dark colors or dealing with new drywall. A primer ensures better adhesion of the paint and improves durability. It also helps achieve a uniform paint finish by covering imperfections and stains.
5. Apply Painter's Tape
Painter's tape is essential for achieving clean, crisp edges. Use it to mask off trim, baseboards, and any other areas you don’t want to paint. Ensure the tape is securely adhered to the surface to prevent paint from bleeding underneath.
6. Use the “W†Technique
When using a roller, apply paint in a "W" pattern to ensure even coverage. Start by making a large "W" on the wall, then fill it in without lifting the roller. This technique distributes the paint evenly and prevents visible roller marks.
7. Work in Sections
To maintain a wet edge and avoid lap marks, work in small sections. This means painting one area at a time and blending into the adjacent sections. This technique ensures a seamless and professional finish.
8. Avoid Overlapping
When applying paint, avoid excessive overlapping with previously painted sections as it can create uneven layers. Smooth strokes will help achieve consistent coverage and a smooth finish.
9. Allow Adequate Drying Time
Follow the paint manufacturer's guidelines for drying time between coats. Rushing through the coats can lead to uneven texture and an unsatisfactory finish. Patience is key to achieving a quality result.
10. Remove Tape Carefully
After the paint is dry, carefully remove the painter's tape at a 45-degree angle to avoid peeling off any paint. If the tape was applied correctly, it will reveal sharp, clean edges.
Transforming your space with a fresh coat of paint doesn't have to be daunting. By following these expert wall painting tips and techniques, you can achieve professional results and create a beautiful, inviting space. Remember to choose the right paint, prepare your walls, use quality tools, and be patient throughout the process. Happy painting!