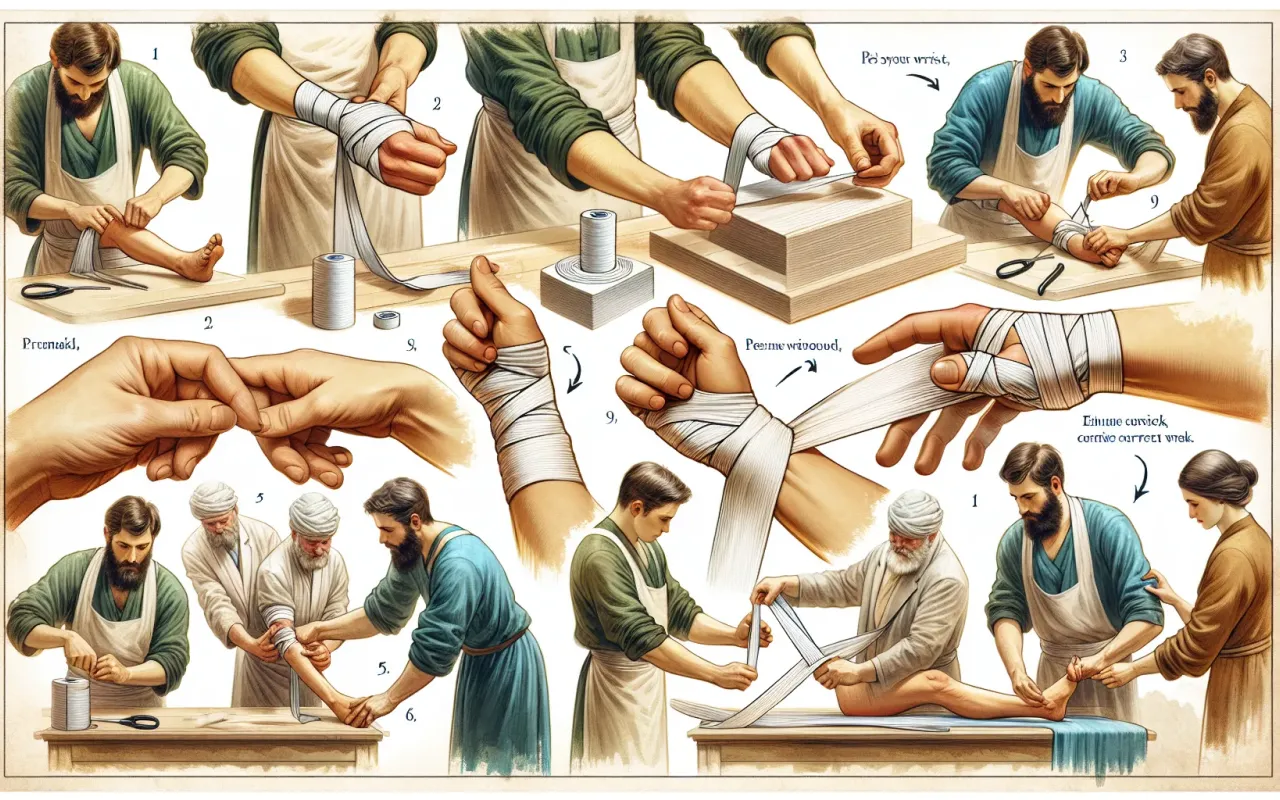
Learn how to wrap a sprained wrist effectively using our expert step-by-step guide. Ensure quick recovery and reduce pain with proper wrapping techniques.
- August 27, 2024
AceShowbiz - Learn how to wrap a sprained wrist effectively using our expert step-by-step guide. Ensure quick recovery and reduce pain with proper wrapping techniques.
Introduction
A wrist sprain can be a painful and frustrating injury that significantly hinders daily activities. Knowing how to wrap a sprained wrist properly is crucial for providing support, reducing swelling, and speeding up the recovery process. In this comprehensive guide, we will walk you through the steps to wrap a sprained wrist effectively and offer tips for immediate care and long-term rehabilitation.
Understanding Wrist Sprains
What is a Wrist Sprain?
A wrist sprain occurs when the ligaments that connect bones in the wrist are stretched or torn. This type of injury is common among athletes, but it can happen to anyone from falls, sudden twists, or impacts. Symptoms typically include pain, swelling, and limited mobility in the wrist.
Degrees of Wrist Sprains
- First-Degree Sprain: Mild stretching and microscopic tearing of the ligament fibers.
- Second-Degree Sprain: Partial tearing of the ligament, causing more significant pain and swelling.
- Third-Degree Sprain: Complete tear of the ligament, resulting in severe pain and loss of function.
Preparation for Wrapping a Sprained Wrist
Gathering Necessary Supplies
Before you begin wrapping your wrist, ensure you have the following supplies:
- Elastic bandage or compression wrap
- Adhesive tape (if needed)
- Scissors (to cut the bandage, if necessary)
- Ice pack (for initial treatment)
Initial Care
For the first 24-48 hours after a sprain, follow the R.I.C.E. method:
- Rest: Avoid activities that cause pain or stress to the wrist.
- Ice: Apply an ice pack wrapped in a cloth to reduce swelling. Do this for 20 minutes every 1-2 hours.
- Compression: Use an elastic bandage to wrap the wrist. This will be covered in detail below.
- Elevation: Keep your wrist elevated above heart level to reduce swelling.
Step-by-Step Guide: How to Wrap a Sprained Wrist
Step 1: Start with Clean, Dry Skin
Ensure the skin around your wrist is clean and dry to help the bandage adhere better and prevent skin irritation.
Step 2: Position the Wrist
Hold your wrist in a neutral position, not too bent forward or backward. This position is the most comfortable and supportive.
Step 3: Begin the Wrap
Start wrapping the bandage around the palm of your hand, just below the base of your fingers. Ensure the bandage is snug but not too tight to avoid cutting off circulation.
Step 4: Wrap Around the Wrist
After securing the bandage around your palm, wrap it around your wrist. Make sure to cover the area just above and below the sprain to provide adequate support.
Step 5: Continue Wrapping Up the Arm
Continue wrapping the bandage up your forearm, overlapping each layer by about half the width of the bandage. Keep the tension consistent throughout the process.
Step 6: Secure the Bandage
Once you have wrapped sufficiently past the injured area, secure the end of the bandage with adhesive tape or the clips provided. Again, ensure it is secure but not too tight.
Step 7: Check Circulation
After the bandage is in place, check for proper circulation. Your fingers should not be numb or tingling. If they are, the bandage is too tight and should be rewrapped.
Aftercare Tips for a Sprained Wrist
Pain Management
Over-the-counter pain relievers like ibuprofen or acetaminophen can help manage pain and reduce inflammation.
Physical Therapy
Once initial pain and swelling have subsided, consider physical therapy to regain strength and flexibility in your wrist. Exercises may include gentle stretching and strengthening activities.
Avoiding Re-injury
Wear a wrist brace during activities that might stress the wrist. Gradually return to your usual activities, avoiding any that cause pain.
When to Seek Medical Attention
If you experience severe pain, significant swelling, or if you suspect a fracture, seek medical attention immediately. A healthcare professional can provide a more accurate diagnosis and treatment plan.
Conclusion
Knowing how to wrap a sprained wrist properly is an essential skill for promoting quick and effective recovery. By following this guide and taking appropriate aftercare steps, you can reduce pain, prevent further injury, and get back to your routine faster. Remember, if your symptoms persist or worsen, consult a healthcare professional for further evaluation and treatment.