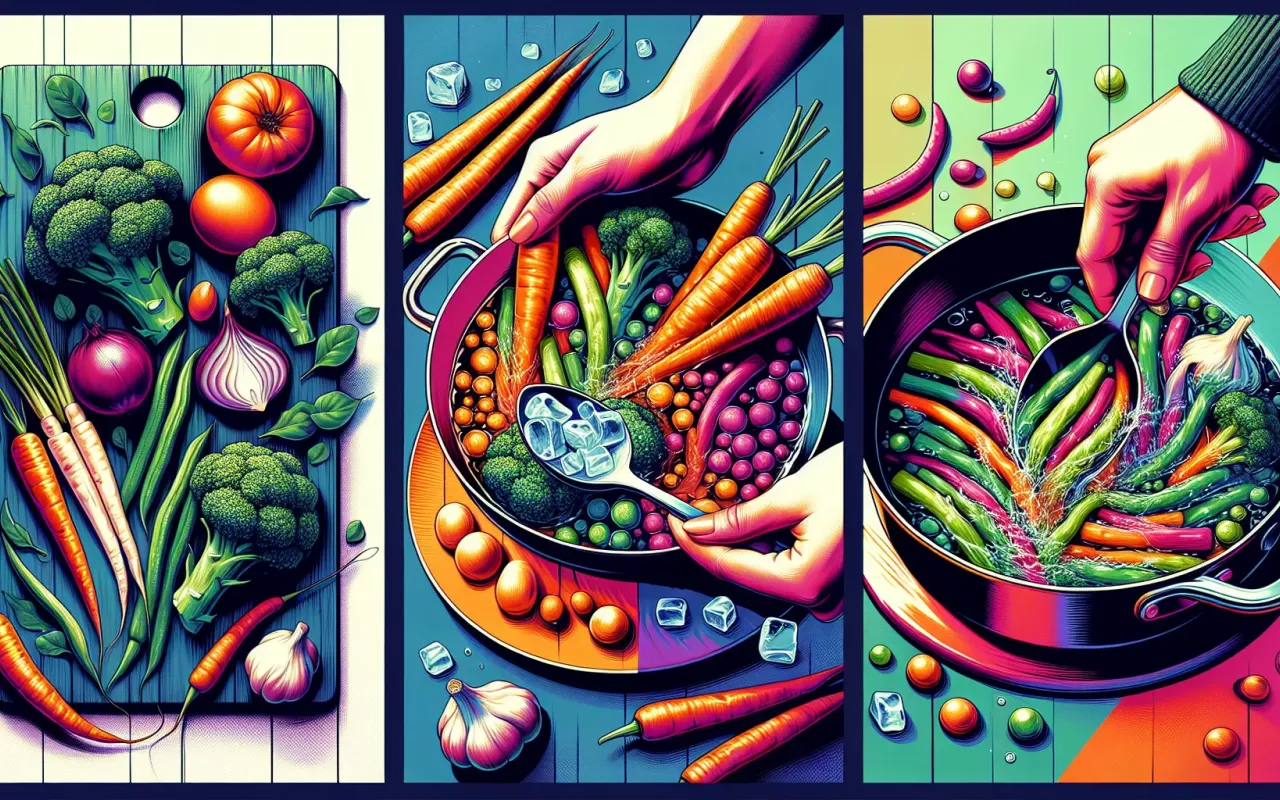
Learn the proper way to blanch vegetables with our step-by-step guide. Ensure perfect results every time with these expert tips and techniques.
- August 23, 2024
Blanching vegetables is a crucial cooking technique that helps preserve the color, texture, and nutritional value of fresh produce. Whether you're preparing vegetables for freezing, canning, or simply want to enhance their flavor and appearance, knowing the proper way to blanch vegetables can make all the difference. In this comprehensive guide, we'll walk you through the step-by-step process to ensure perfect results every time.
Why Blanch Vegetables?
Blanching is a heat-and-cool process typically involving boiling water and ice water. It serves several key purposes:
- Preserving Color and Flavor: The quick immersion in boiling water brightens the color of vegetables and enhances their natural flavors.
- Inhibiting Enzymes: Blanching halts enzyme actions that can cause loss of flavor, color, and texture.
- Preparing for Freezing: Blanching helps vegetables retain quality and nutritional value when frozen.
- Removing Surface Dirt: It also helps to remove any residual dirt and bacteria from the surface of vegetables.
Step-by-Step Guide to Blanching Vegetables
1. Gather Your Supplies
You'll need the following items:
- A large pot of boiling water
- A bowl of ice water
- A slotted spoon or tongs
- A colander
- Vegetables to blanch
2. Prepare the Vegetables
Clean and cut your vegetables as needed. Make sure they are uniform in size to ensure even blanching times.
3. Bring Water to a Boil
Fill a large pot with water and bring it to a rolling boil. Adding a pinch of salt can help enhance the color and flavor.
4. Blanch the Vegetables
- Using a slotted spoon or tongs, carefully lower the vegetables into the boiling water.
- Blanch for the appropriate time for each type of vegetable (e.g., 2-3 minutes for green beans, 1 minute for spinach).
- Be sure not to overcrowd the pot. Blanch in small batches if necessary.
5. Transfer to Ice Water
Immediately transfer the blanched vegetables to a bowl of ice water to stop the cooking process. This helps retain their crisp texture. Leave them in the ice bath for the same duration as they were boiled.
6. Drain and Dry
Once cooled, remove the vegetables from the ice water using a slotted spoon and transfer to a colander. Drain well and pat dry with a clean kitchen towel.
7. Use or Store
Blanched vegetables can now be used in recipes or frozen for later use. If freezing, spread them out in a single layer on a baking sheet and freeze until solid, then transfer to a freezer-safe bag or container.
Common Mistakes to Avoid
Even with the best intentions, mistakes can happen. Here are some common pitfalls to watch out for:
- Over-blanching: This can result in mushy vegetables. Stick to the recommended blanching times.
- Skipping the Ice Bath: Neglecting this step can lead to vegetables continuing to cook, thus losing their crispness.
- Not Draining Properly: Ensure vegetables are well-drained before freezing to avoid ice crystals forming.
- Blanching Too Many Vegetables at Once: Overcrowding the pot can lead to uneven cooking. Blanch in small batches.
Expert Tips for Optimal Blanching
Here are some additional tips to help master the blanching process:
- Test for Brightness: Before removing from the boiling water, test a piece for color. Vegetables should look vibrant and slightly tender.
- Keep Items Cold: Continuously add ice to the ice bath to maintain its chilliness.
- Label and Date: When freezing blanched vegetables, label bags or containers with dates to track freshness.
- Try Blanching Greens: Greens such as spinach or kale blanch exceptionally well and can be a great addition to numerous recipes.
Conclusion
Blanching is a simple yet essential technique that can significantly enhance the quality of your vegetables. By following this step-by-step guide on the proper way to blanch vegetables, you can ensure your produce retains its vibrant color, delicious flavor, and essential nutrients. Practice makes perfect, so don't hesitate to experiment with different vegetables and blanching times. Your efforts will be rewarded with beautifully blanched, versatile vegetables ready for any culinary creation.