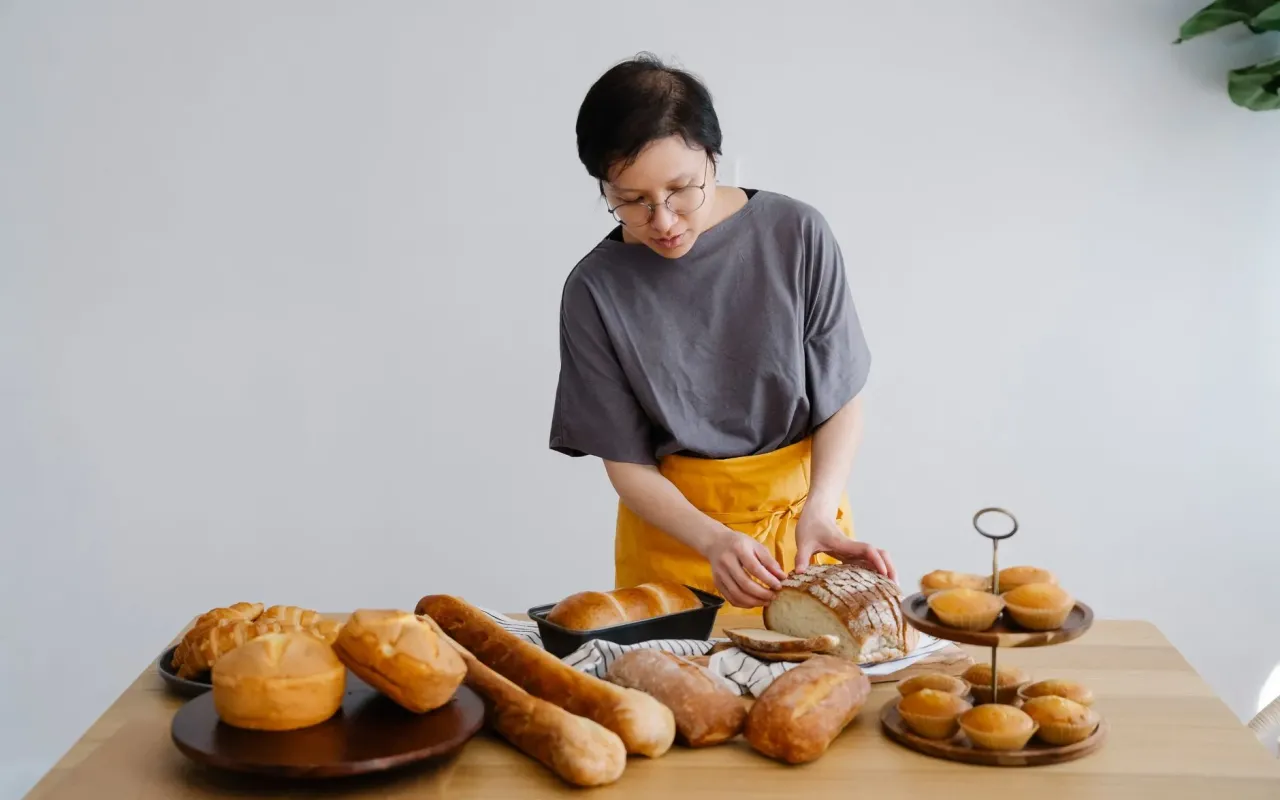
Gluten isn't just a buzzword. Learn how this protein network builds structure, traps gas, and creates the chewy crumb you love—plus how to control it.
- August 18, 2026
AceShowbiz - You've probably seen the memes: a sad, dense loaf of bread labeled "gluten-free," sitting next to a tall, airy sourdough labeled "real bread." It's funny because it's true. But have you ever stopped to ask why? Why does removing one protein complex turn a bakery's masterpiece into a brick? It's not magic, and it's not a marketing conspiracy. It's physics, chemistry, and a little bit of biological stubbornness. Understanding gluten is the difference between blindly following a recipe and actually knowing what you're doing in the kitchen. And once you get it, you'll never look at a loaf of bread the same way again.
Let's be clear: gluten is not an ingredient you add. It's a reaction. When you mix wheat flour with water, two proteins—glutenin and gliadin—wake up, link arms, and form a stretchy, elastic network. That network is what gives bread its structure, its chew, and its ability to rise. Without it, you're not baking bread; you're baking a dense, crumbly cake that happens to be shaped like a loaf. This article will break down exactly how that network forms, why it behaves the way it does, and how you can manipulate it to bake better bread at home.
The Two Proteins Behind the Magic: Glutenin and Gliadin
Think of gluten as a team sport. Glutenin is the strong, rigid player—it provides elasticity and strength. Gliadin is the flexible, fluid one—it provides extensibility, meaning the dough can stretch without snapping. Alone, neither is particularly useful. Together, they create a material that can hold gas, withstand heat, and still be tender enough to bite through.
Here's the "so what?" part. If you've ever had a dough that fought back when you tried to roll it out, that's too much elasticity—your glutenin is dominating. If your dough spreads flat like a pancake instead of holding its shape, that's too much extensibility—your gliadin is winning. The goal of good bread making is balance. You want a dough that stretches easily but also springs back slightly when you poke it. That balance is what separates a baguette from a cracker.
Practical tip: When a recipe tells you to use "bread flour" instead of "all-purpose," it's not being snobby. Bread flour typically has a higher protein content (12-14%) compared to all-purpose (9-11%). More protein means more glutenin and gliadin available to form a stronger network. If you're making a rustic, chewy loaf, use bread flour. If you're making a soft sandwich bread, all-purpose is fine.
But here's a nuance most home bakers miss: protein percentage isn't everything. The quality of the protein matters too. A high-protein flour from a hard red wheat variety will behave differently than a high-protein flour from a soft wheat variety. That's why professional bakers often obsess over specific flour brands and even specific harvests. It's not pretension; it's consistency. For you, this means: once you find a flour that works, stick with it. Changing brands can change your bread more than you'd expect.
Hydration: The Secret Switch That Turns Flour Into Dough
Water isn't just a mixing medium; it's the catalyst that activates the gluten-forming proteins. When water hits flour, the proteins begin to hydrate and unfold. This process is called autolysis (or autolyse, if you're fancy). During this rest period, the proteins align and start forming bonds. The longer the autolyse, the stronger the network—up to a point.
Hydration levels are expressed as a baker's percentage, which is just the weight of water divided by the weight of flour, multiplied by 100. A 70% hydration dough means 700 grams of water for every 1000 grams of flour. Higher hydration doughs (75-85%) produce open, airy crumbs with big holes. Lower hydration doughs (55-65%) produce tighter, denser breads like bagels or pretzels. The difference is dramatic. If you've ever seen a picture of a sourdough crumb with giant, irregular holes, you're looking at a dough that was likely 80% hydration or higher.
Practical tip: If you're new to high-hydration doughs, don't jump straight to 85%. Start at 70% and work your way up by 5% increments each time you bake. High-hydration doughs are sticky and difficult to shape. They require patience and a light touch. But the reward is a crumb that's almost custard-like in its softness and a crust that shatters when you bite into it.
Another key insight: water temperature matters. Warm water (around 80°F/27°C) speeds up fermentation and gluten development. Cold water slows everything down. If you're baking in a hot kitchen, use colder water to prevent the dough from over-proofing before the gluten has a chance to strengthen. This is why many pro bakers use a "desired dough temperature" formula. For you, a simple rule: if your kitchen is over 75°F, use cold water. If it's under 70°F, use warm water.
Kneading and Folding: Building the Network by Hand
Kneading is not about "working the dough" in a vague sense; it's about physically forcing the glutenin and gliadin proteins to bump into each other and form disulfide bonds. These bonds are what give gluten its strength. The more you knead, the more bonds form—until you overdo it and the dough starts to tear. Yes, there is such a thing as over-kneading, and it's a real problem for home bakers with stand mixers.
The classic test is the "windowpane test." Take a small piece of dough and stretch it gently between your fingers. If it forms a thin, translucent membrane without tearing, your gluten is developed. If it tears easily, keep kneading. If it feels tight and resists stretching, you've gone too far. Most stand mixers can develop gluten in 8-10 minutes on medium speed. By hand, it can take 15-20 minutes of continuous work. The difference is why many home bakers prefer the "stretch and fold" method for high-hydration doughs.
Practical tip: Stretch and fold is a game-changer for wet doughs. Instead of kneading, you perform a series of gentle stretches and folds every 30 minutes during the first 2 hours of bulk fermentation. This builds gluten strength without deflating the gas bubbles that are forming. It's less physically demanding and produces a more open crumb. Try it next time you make a sourdough or a high-hydration ciabatta.
Here's the "so what?"—the texture of your bread is literally determined by how many times those proteins collide. A dough that's under-kneaded will be weak and dense. A dough that's over-kneaded will be tough and rubbery. The sweet spot is when the dough feels smooth, slightly tacky, and springs back when you press it. That's the sign that your gluten network is strong but still flexible.
Fermentation: Time Is Your Best Ingredient
Yeast doesn't just make bread rise; it also influences gluten development. As yeast consumes sugars, it produces carbon dioxide gas and organic acids. The gas inflates the gluten network like a balloon. The acids—specifically lactic and acetic acid—strengthen the gluten by lowering the pH of the dough. A slightly acidic environment makes the gluten proteins more resilient and less likely to break down. This is why sourdough breads often have a chewier, more satisfying texture than commercial yeast breads.
But here's the twist: too much fermentation can destroy gluten. If you let a dough ferment for too long, the enzymes in the flour (proteases) start breaking down the gluten proteins. The dough becomes slack, sticky, and loses its ability to hold gas. This is called "over-fermentation," and it's the reason your dough collapsed in the fridge overnight. The window between "perfectly fermented" and "ruined" is surprisingly narrow, especially in warm environments.
Practical tip: Use the "poke test" to judge fermentation. Dust your finger with flour and gently press it into the dough. If the indentation springs back slowly and leaves a small dent, the dough is ready to shape. If it springs back immediately, it needs more time. If it doesn't spring back at all, you've over-fermented it. This test is more reliable than a timer because fermentation speed depends on temperature, yeast activity, and dough hydration.
Cold fermentation (retarding) is a pro technique you can use at home. After shaping, put your loaves in the fridge for 12-24 hours. The cold slows down yeast activity but allows the enzymes and acids to continue developing flavor. The gluten also relaxes, which makes the dough easier to score (slash) before baking. The result is a more complex, tangy flavor and a thinner, crisper crust. It's a low-effort way to dramatically improve your bread's quality.
Oven Spring and the Final Rise
The moment your dough hits a hot oven (450-500°F), a phenomenon called "oven spring" occurs. The heat causes the gases inside the dough to expand rapidly, and the yeast goes into overdrive before it dies. This is the last chance for your gluten network to stretch and inflate. If your gluten is weak, the bread will collapse or spread. If it's strong, the bread will rise dramatically in the first 10-15 minutes of baking.
Steam is the secret weapon here. When you add steam to the oven (by placing a pan of water at the bottom or spraying the walls), you keep the crust soft and pliable. This allows the dough to expand more before the crust sets. Without steam, the crust forms too early, and your loaf will be smaller and denser. This is why professional ovens have steam injection. You can replicate this at home with a Dutch oven—the sealed pot traps the moisture from the dough itself, creating a steamy environment.
Practical tip: If you don't have a Dutch oven, place a cast-iron skillet on the bottom rack and pour a cup of boiling water into it right after you load the bread. Close the oven door quickly to trap the steam. Bake for 15 minutes, then remove the skillet and continue baking for the remaining time. This gives you that professional, glossy crust without buying new equipment.
Another factor: scoring. Slashing the top of your loaf with a razor blade or a lame isn't just decorative. It creates a weak point where the dough can expand during oven spring. If you don't score, the bread will find its own weak point—usually the side—and burst there. Scoring also controls the shape of the final loaf. A deep, angled score creates an "ear" (a raised flap of crust) that's a hallmark of artisan bread.
When Gluten Goes Wrong: Troubleshooting Common Bread Failures
Let's be honest: we've all baked a loaf that looked like a frisbee. The most common cause is under-developed gluten. Your dough didn't have enough strength to hold the gas, so it spread out instead of rising up. The fix isn't more flour; it's more kneading or more stretch-and-folds. Another common issue is a gummy, doughy interior. This often happens when you cut the bread too early. The gluten network needs time to set—cooling for at least an hour is non-negotiable. Cutting a hot loaf releases steam and causes the crumb to become gummy.
What about a crust that's too hard? That's usually a sign of over-baking or not enough steam. And a pale, soft crust? That means your oven wasn't hot enough, or you didn't have steam. Each of these failures points back to gluten. A hard crust is gluten that's been cooked too long, losing its flexibility. A pale crust is gluten that hasn't undergone the Maillard reaction properly because the surface was too dry or the temperature too low.
Practical tip: Keep a baking journal. Write down the flour brand, hydration percentage, fermentation time, and oven temperature for every loaf. When something goes wrong, you can pinpoint exactly what to change next time. Baking is a science, but it's also an experiment. The best bakers aren't the ones who never fail; they're the ones who learn from every failure.
If your bread is consistently dense, try increasing the hydration by 5% and adding a 30-minute autolyse before you add the yeast. That extra rest period gives the gluten a head start. If your bread is too chewy (like a tire), reduce the protein content of your flour or shorten the kneading time. Sometimes, less is more.
Gluten-Free Baking: The Workaround
For those who are gluten-intolerant or have celiac disease, bread baking becomes a different challenge entirely. You can't just remove gluten and expect the same results. Instead, you have to simulate gluten's properties using other ingredients. Xanthan gum and psyllium husk are common substitutes. They form a gel-like network that mimics gluten's elasticity and gas-holding ability. But the texture is never quite the same, and the dough behaves very differently.
Gluten-free doughs are typically more like thick batters than traditional doughs. They don't need kneading, and they don't benefit from stretch-and-folds. In fact, over-mixing a gluten-free dough can make it gummy. The hydration needs are also different—gluten-free flours like rice flour and almond flour absorb water differently than wheat flour. This is why gluten-free breads often require more liquid and more binding agents.
Practical tip: If you're baking gluten-free, don't try to adapt a wheat bread recipe. Use a recipe specifically designed for gluten-free flour blends. And be prepared for a shorter shelf life—gluten-free breads go stale faster because they lack the gluten network that retains moisture. Toast it, and you'll get a better texture.
Understanding gluten—even if you don't eat it—makes you a better baker. It explains why certain flours are labeled "bread flour," why hydration percentages matter, and why a simple loaf of bread is actually a complex chemical reaction. Armed with this knowledge, you can stop following recipes blindly and start making your own decisions. That's the real joy of baking: not just making bread, but understanding it.