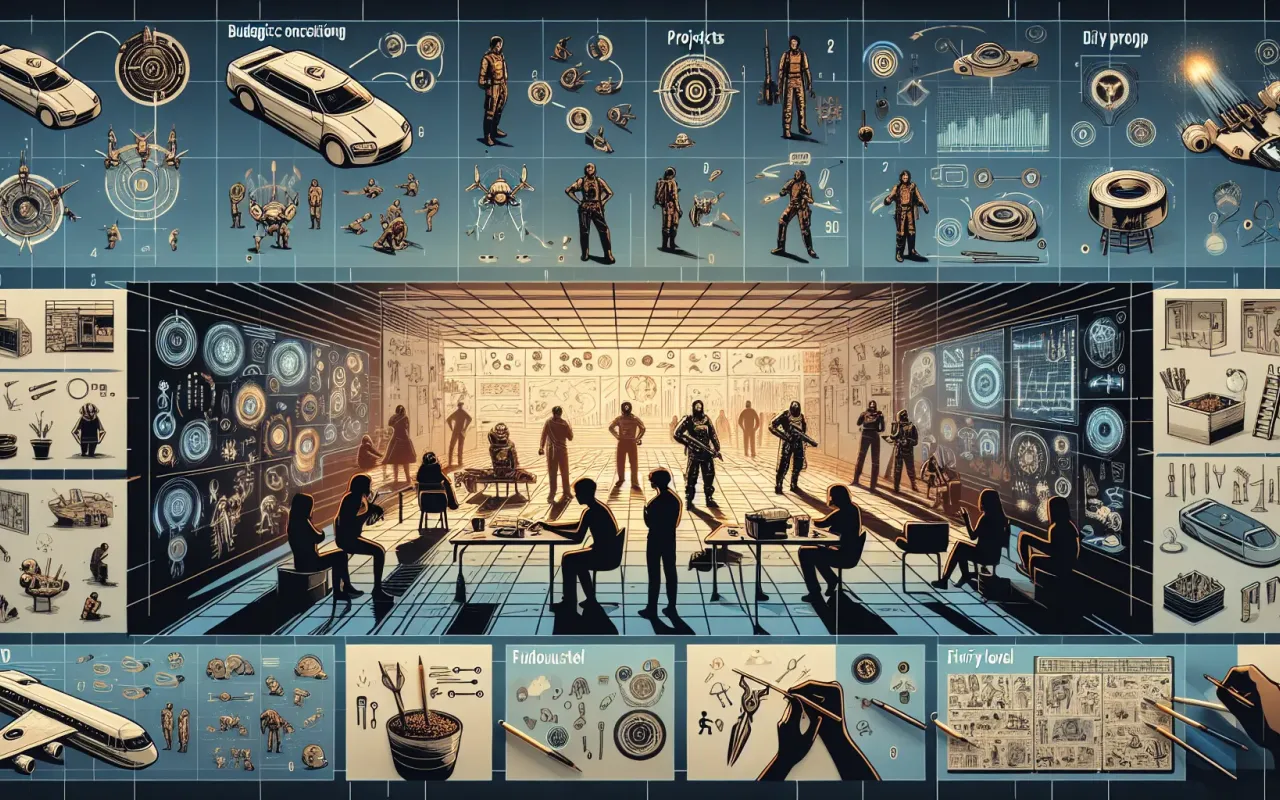
Explore budget-friendly DIY projects with step-by-step tutorials for every skill level. Discover creative and cost-effective solutions to decorate your home, craft unique gifts, and more.
- August 27, 2024
AceShowbiz - Welcome to our comprehensive guide on budget-friendly DIY projects! Whether you're a seasoned crafter or a beginner looking to explore your creative side, this article provides step-by-step tutorials for every skill level. These projects are not only easy on the wallet but also offer unique and personal touches to your home or as gifts. Let's dive into some amazing DIY ideas that you can start today.
Why Choose Budget-Friendly DIY Projects?
Opting for budget-friendly DIY projects allows you to save money while unleashing your creativity. These projects are perfect for those who enjoy personalizing their surroundings and making practical items without breaking the bank. Additionally, DIY projects can be incredibly therapeutic and fulfilling.
Essential Tools and Materials
Before you get started, it's important to have some basic tools and materials. Here are the essentials:
- Hot glue gun and glue sticks
- Scissors and utility knife
- Paints and brushes
- Hammer and nails
- Measuring tape
- Sandpaper
- Various adhesives (such as wood glue)
Beginner DIY Projects
1. Customized Picture Frames
This project is perfect for beginners and can be completed with minimal supplies. Decorate plain picture frames with paint, stickers, or other embellishments to create personalized frames for your favorite photos.
Materials Needed:
- Plain picture frames
- Acrylic paint
- Paintbrushes
- Decorative stickers or embellishments
Steps:
- Clean the picture frame to remove any dust or dirt.
- Paint the frame with your desired color and let it dry completely.
- Apply decorative stickers or embellishments to personalize the frame.
- Insert your photo and display your custom picture frame!
2. Handmade Coasters
Create stylish and functional coasters using tile and cork. This project is easy and can be completed quickly, making it a perfect beginner DIY project.
Materials Needed:
- Small ceramic tiles
- Cork sheets
- Mod Podge or similar adhesive
- Felt pads
- Utility knife
Steps:
- Cut the cork sheets to fit the back of your ceramic tiles.
- Apply a thin layer of Mod Podge to the back of the tile and adhere the cork sheet.
- Let it dry completely, then attach felt pads to the bottom corners to prevent scratches.
- Optionally, you can paint the tiles or apply decorative designs.
Intermediate DIY Projects
1. Pallet Wood Shelf
Create a rustic and functional shelf using reclaimed pallet wood. This project requires a bit more skill but results in a sturdy and stylish piece of furniture.
Materials Needed:
- Reclaimed pallet wood
- Sandpaper
- Wood screws
- Drill
- Hammer and nails
- Wood stain or paint (optional)
- Brackets (if needed)
Steps:
- Disassemble the pallet carefully and sand the wood pieces.
- Decide on the size and design of your shelf.
- Cut the wood to your desired length.
- Assemble the pieces using screws, nails, and a drill.
- Sand the assembled shelf to smooth any rough edges.
- Optionally, paint or stain the shelf to match your decor.
- Mount the shelf on the wall using brackets or screws.
2. Fabric-Covered Bulletin Board
Personalize your space with a fabric-covered bulletin board. This project is perfect for those with some sewing experience and adds a decorative touch to any room.
Materials Needed:
- Cork board
- Fabric
- Staple gun
- Scissors
- Trim or ribbon (optional)
Steps:
- Measure and cut the fabric to fit over the cork board, leaving excess on the edges to wrap around the back.
- Place the fabric over the cork board and wrap the edges around the back.
- Secure the fabric in place with the staple gun.
- Optionally, add trim or ribbon to the edges for a decorative touch.
- Hang the bulletin board and start pinning your notes and photos!
Advanced DIY Projects
1. Custom Wooden Headboard
Create a stunning wooden headboard for your bed. This project requires advanced woodworking skills but produces a beautiful and unique piece.
Materials Needed:
- Wood planks
- Saw
- Sandpaper
- Wood glue
- Wood screws
- Drill
- Wood stain or paint
- Measuring tape
Steps:
- Measure the width of your bed to determine the size of the headboard.
- Cut the wood planks to the required lengths.
- Sand the edges and surfaces of the wood planks.
- Arrange the planks in your desired pattern and use wood glue to secure them.
- Attach the planks together with wood screws and a drill.
- Sand the assembled headboard to ensure all edges are smooth.
- Stain or paint the headboard to match your bedroom décor.
- Mount the headboard to the wall or attach it to your bed frame.
2. Upholstered Bench
Craft a beautiful and comfortable upholstered bench that can be used in various parts of your home. This project requires advanced skills but adds a touch of elegance and functionality.
Materials Needed:
- Wood for the bench frame
- High-density foam
- Fabric for upholstery
- Staple gun and staples
- Wood screws
- Drill
- Paint or stain (optional)
Steps:
- Build the bench frame using wood planks and secure with wood screws.
- Cut the high-density foam to fit the top of the bench frame.
- Place the foam on the top of the bench and cover with upholstery fabric.
- Secure the fabric in place using a staple gun.
- Optionally, paint or stain the wood frame to match your decor.
- Let the paint or stain dry completely and assemble the bench.
- Place the upholstered bench in your desired location and enjoy!
Conclusion
These budget-friendly DIY projects offer a range of options for every skill level, enabling you to personalize your space and create unique gifts while saving money. Whether you are decorating your home with customized picture frames or building a wooden headboard, the satisfaction of completing a project will be well worth the effort. Gather your supplies and start crafting today!