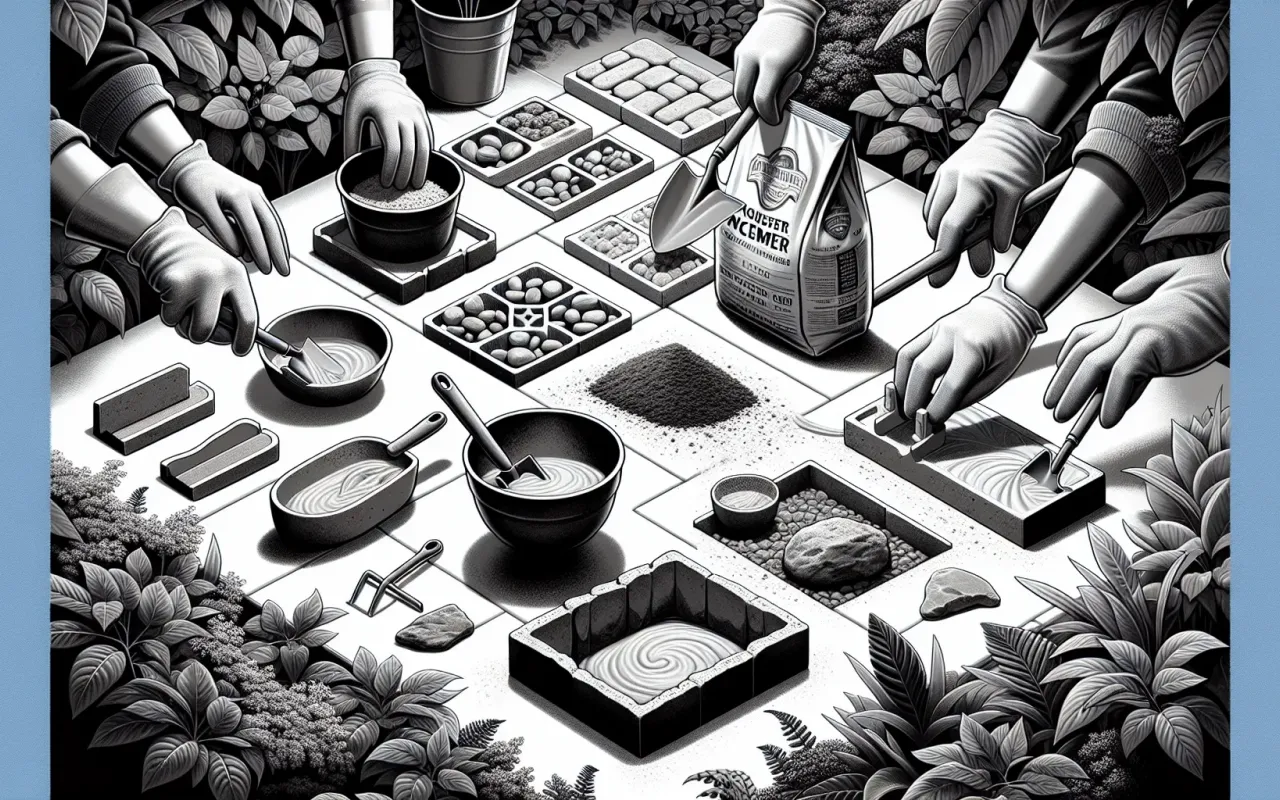
Learn how to create beautiful DIY garden stepping stones with our step-by-step gardening guide. Discover the materials, methods, and tips to enhance your garden’s aesthetics with personalized touches.
- August 8, 2024
AceShowbiz - Looking to add a personalized touch to your garden? DIY garden stepping stones are a fantastic way to enhance your outdoor space's aesthetics. This comprehensive guide will walk you through the steps of creating unique and beautiful stepping stones tailored to your garden. By the end of this article, you'll have all the information you need to make your garden both functional and charming.
Why Create DIY Garden Stepping Stones?
Creating your own garden stepping stones offers numerous benefits:
- Personalization: You can customize the stones to reflect your style and garden theme.
- Cost-Effective: DIY versions are often cheaper than store-bought alternatives.
- Satisfaction: There's a sense of accomplishment in making something with your own hands.
Materials Needed
Before you begin, gather the following materials:
- Cement or concrete mix
- Molds (plastic, metal, or DIY molds from household items)
- Water
- Decorative items (pebbles, glass beads, tiles, shells, etc.)
- Pam, Vaseline, or other lubricant for molds
- Protective gear (gloves and goggles)
Step-by-Step Guide to Creating DIY Garden Stepping Stones
Step 1: Choose Your Molds
Selecting the right molds is crucial as they determine the shape of your stepping stones. You can buy molds specifically designed for stepping stones or repurpose household items like baking pans and platters. Ensure they are sturdy and can hold the weight of the concrete mix.
Step 2: Prepare Your Workspace
Set up your workspace in a well-ventilated area. Lay down newspapers or a tarp to protect surfaces. Wear gloves and goggles to protect your skin and eyes from the cement mix.
Step 3: Mix the Concrete
Follow the manufacturer’s instructions to mix your cement or concrete. Typically, you'll need to combine the mix with water until you achieve a thick, pourable consistency. Make sure there are no lumps.
Step 4: Lubricate the Molds
Use a lubricant like Pam or Vaseline to coat the inside of your molds. This ensures that the stepping stones will easily release once they are dry.
Step 5: Pour the Mix into Molds
Carefully pour your concrete mix into the prepared molds. Gently tap the sides to remove any air bubbles. Smooth the surface with a spatula or another flat tool.
Step 6: Add Decorations
This is where you can let your creativity shine! Press decorative items such as pebbles, tiles, glass beads, or shells into the wet cement. Arrange them in patterns or create mosaic designs. Make sure they are firmly embedded.
Step 7: Let the Concrete Set
Allow the concrete to set according to the mix’s instructions. This typically takes 24-48 hours. Keep the molds in a dry place and avoid disturbing them during this time.
Step 8: Remove Stepping Stones from Molds
Once the concrete is fully set, gently remove the stepping stones from the molds. If you're having trouble, tap the mold gently, or use a knife to help release the edges. Let the stones cure for an additional week to ensure they are fully hardened.
Tips and Tricks for Perfect Stepping Stones
- Safety First: Always wear protective gear when handling cement and concrete to avoid skin irritation and injury.
- Use Reinforcements: For larger stones, consider adding wire mesh or rebar for added strength.
- Seal Your Stones: Applying a concrete sealer can protect your stones from weather and prolong their lifespan.
- Test Designs: Before creating multiple stones, try out your design on a small piece to ensure satisfaction with the final look.
FAQs About DIY Garden Stepping Stones
Can I Color My Stepping Stones?
Yes, you can add concrete dye to the mix or paint the stones once they are set and cured. Ensure to use outdoor-grade paint to withstand the elements.
What If I Don't Have Molds?
You can make molds from cardboard or use everyday items like pizza boxes or storage lids temporarily lined with plastic to help release the concrete.
How Long Do DIY Stepping Stones Last?
With proper care, such as sealing and minimal direct impact, DIY stepping stones can last for many years.
Conclusion
Creating DIY garden stepping stones is a rewarding project that combines functionality with creativity. With the steps outlined in this guide, you're well on your way to adding a unique, personal touch to your garden. Remember to plan your design, use the right materials, and follow safety precautions for the best results. Happy gardening!