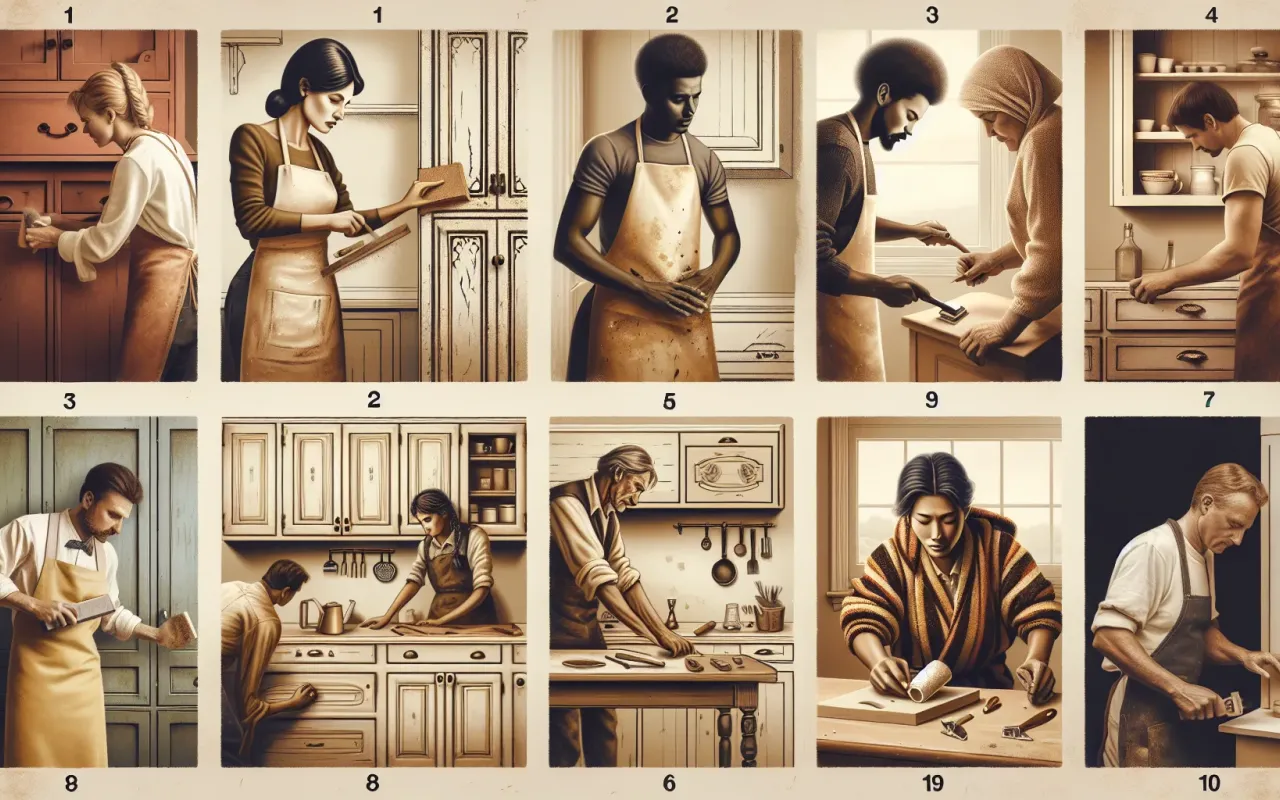
Discover 10 DIY cabinet refinishing techniques that can revamp your kitchen with minimal cost and effort. Learn how to achieve professional results on your own.
- August 29, 2024
AceShowbiz - Are you looking to give your kitchen a fresh new look without breaking the bank? DIY cabinet refinishing techniques can provide a cost-effective solution to breathe new life into your space. In this guide, we’ll walk you through 10 effective techniques that you can easily execute to transform your kitchen cabinets. From painting to staining and beyond, we've got you covered.
1. Prepping and Cleaning
Before diving into any refinishing project, proper preparation is crucial. Begin by removing all cabinet doors and hardware. Clean the surfaces thoroughly to remove grease, grime, and dirt, using a mixture of mild detergent and water. For tougher stains, a degreaser can be very effective. Sanding lightly with fine-grit sandpaper helps to smooth the surface and improve paint adhesion.
2. Using Primer
Applying a primer is an essential step for achieving a smooth and even finish. Primer improves the adhesion of paint or stain to the cabinet surface and can also help to mask wood grains and any discoloration. Choose a primer suitable for your cabinet material—oil-based for wood and shellac-based for laminate or varnished surfaces.
3. Painting with Chalk Paint
Chalk paint has become a popular choice for DIY enthusiasts due to its ease of use and forgiving nature. It requires minimal surface preparation and provides a matte, velvety finish. Apply the first coat evenly, allowing it to dry completely before adding additional coats as needed. Chalk paint distresses well, making it ideal for creating a vintage or shabby-chic look.
4. Staining for a Natural Look
If you prefer to highlight the natural beauty of wood, staining is an excellent option. Choose a stain that complements your kitchen’s color scheme. Apply the stain using a clean cloth in the direction of the wood grain, wiping away excess to avoid blotches. Finish with a protective sealant to enhance durability.
5. Adding a Glaze
To add depth and visual interest, consider applying a glaze over your base color. Glazes work well with painted or stained cabinets and can emphasize details such as grooves and carvings. Brush the glaze onto the surface, then wipe it off with a cloth, leaving behind highlights in recessed areas. This technique provides an antiqued or weathered effect.
6. Spray Painting for a Professional Finish
Spray painting can achieve a smooth, professional-grade finish that is difficult to replicate with brushes or rollers. Use a sprayer in a well-ventilated area, preferably outdoors. Multiple thin coats will yield the best results. Spray paint is ideal for surfaces with intricate details or hard-to-reach areas.
7. Installing New Hardware
Replacing old cabinet hardware such as knobs, handles, and hinges can make a significant impact on the overall aesthetic. Opt for hardware that complements the updated look of your cabinets, aligning with your kitchen’s design theme. Modern, rustic, vintage, or minimalist—choose pieces that enhance your style.
8. Employing a Two-Tone Finish
For a dynamic and modern look, consider adopting a two-tone finish. Paint the upper cabinets and lower cabinets in contrasting or complementary colors. This technique not only adds visual interest but can also make a space appear larger or more cohesive, depending on color choices.
9. Distressing for Character
Distressing techniques involve intentionally aging cabinets to create a rustic or antique appearance. Tools such as sandpaper, chains, or paint scrapers can be used to achieve this look. Focus on edges and areas that would naturally wear over time. Pair with a dark wax to enhance the distressed effect.
10. Applying Wallpaper or Contact Paper
For a rapid transformation, consider using wallpaper or contact paper on cabinet surfaces. These materials are available in numerous designs, allowing for endless customization. Ensure the paper is properly adhered and free from air bubbles for a seamless finish. This technique is especially useful for adding patterns or textures without a permanent commitment.
Conclusion
Refinishing your kitchen cabinets using these DIY techniques can dramatically enhance the look and feel of your kitchen with relatively minimal investment. By carefully selecting the method that best suits your space and style, you can achieve a professional and stunning result. Armed with these 10 techniques, you're ready to embark on your cabinet refinishing project with confidence and creativity.